- Install a recessed electrical outlet
- Use a product like Taperwire or Ghost Wire
- Use a cord cover
- Route the wiring through the wall
- Conceal with furniture or other decor
- Consider using a direct connect fixture like the Direct Connect Vision Series
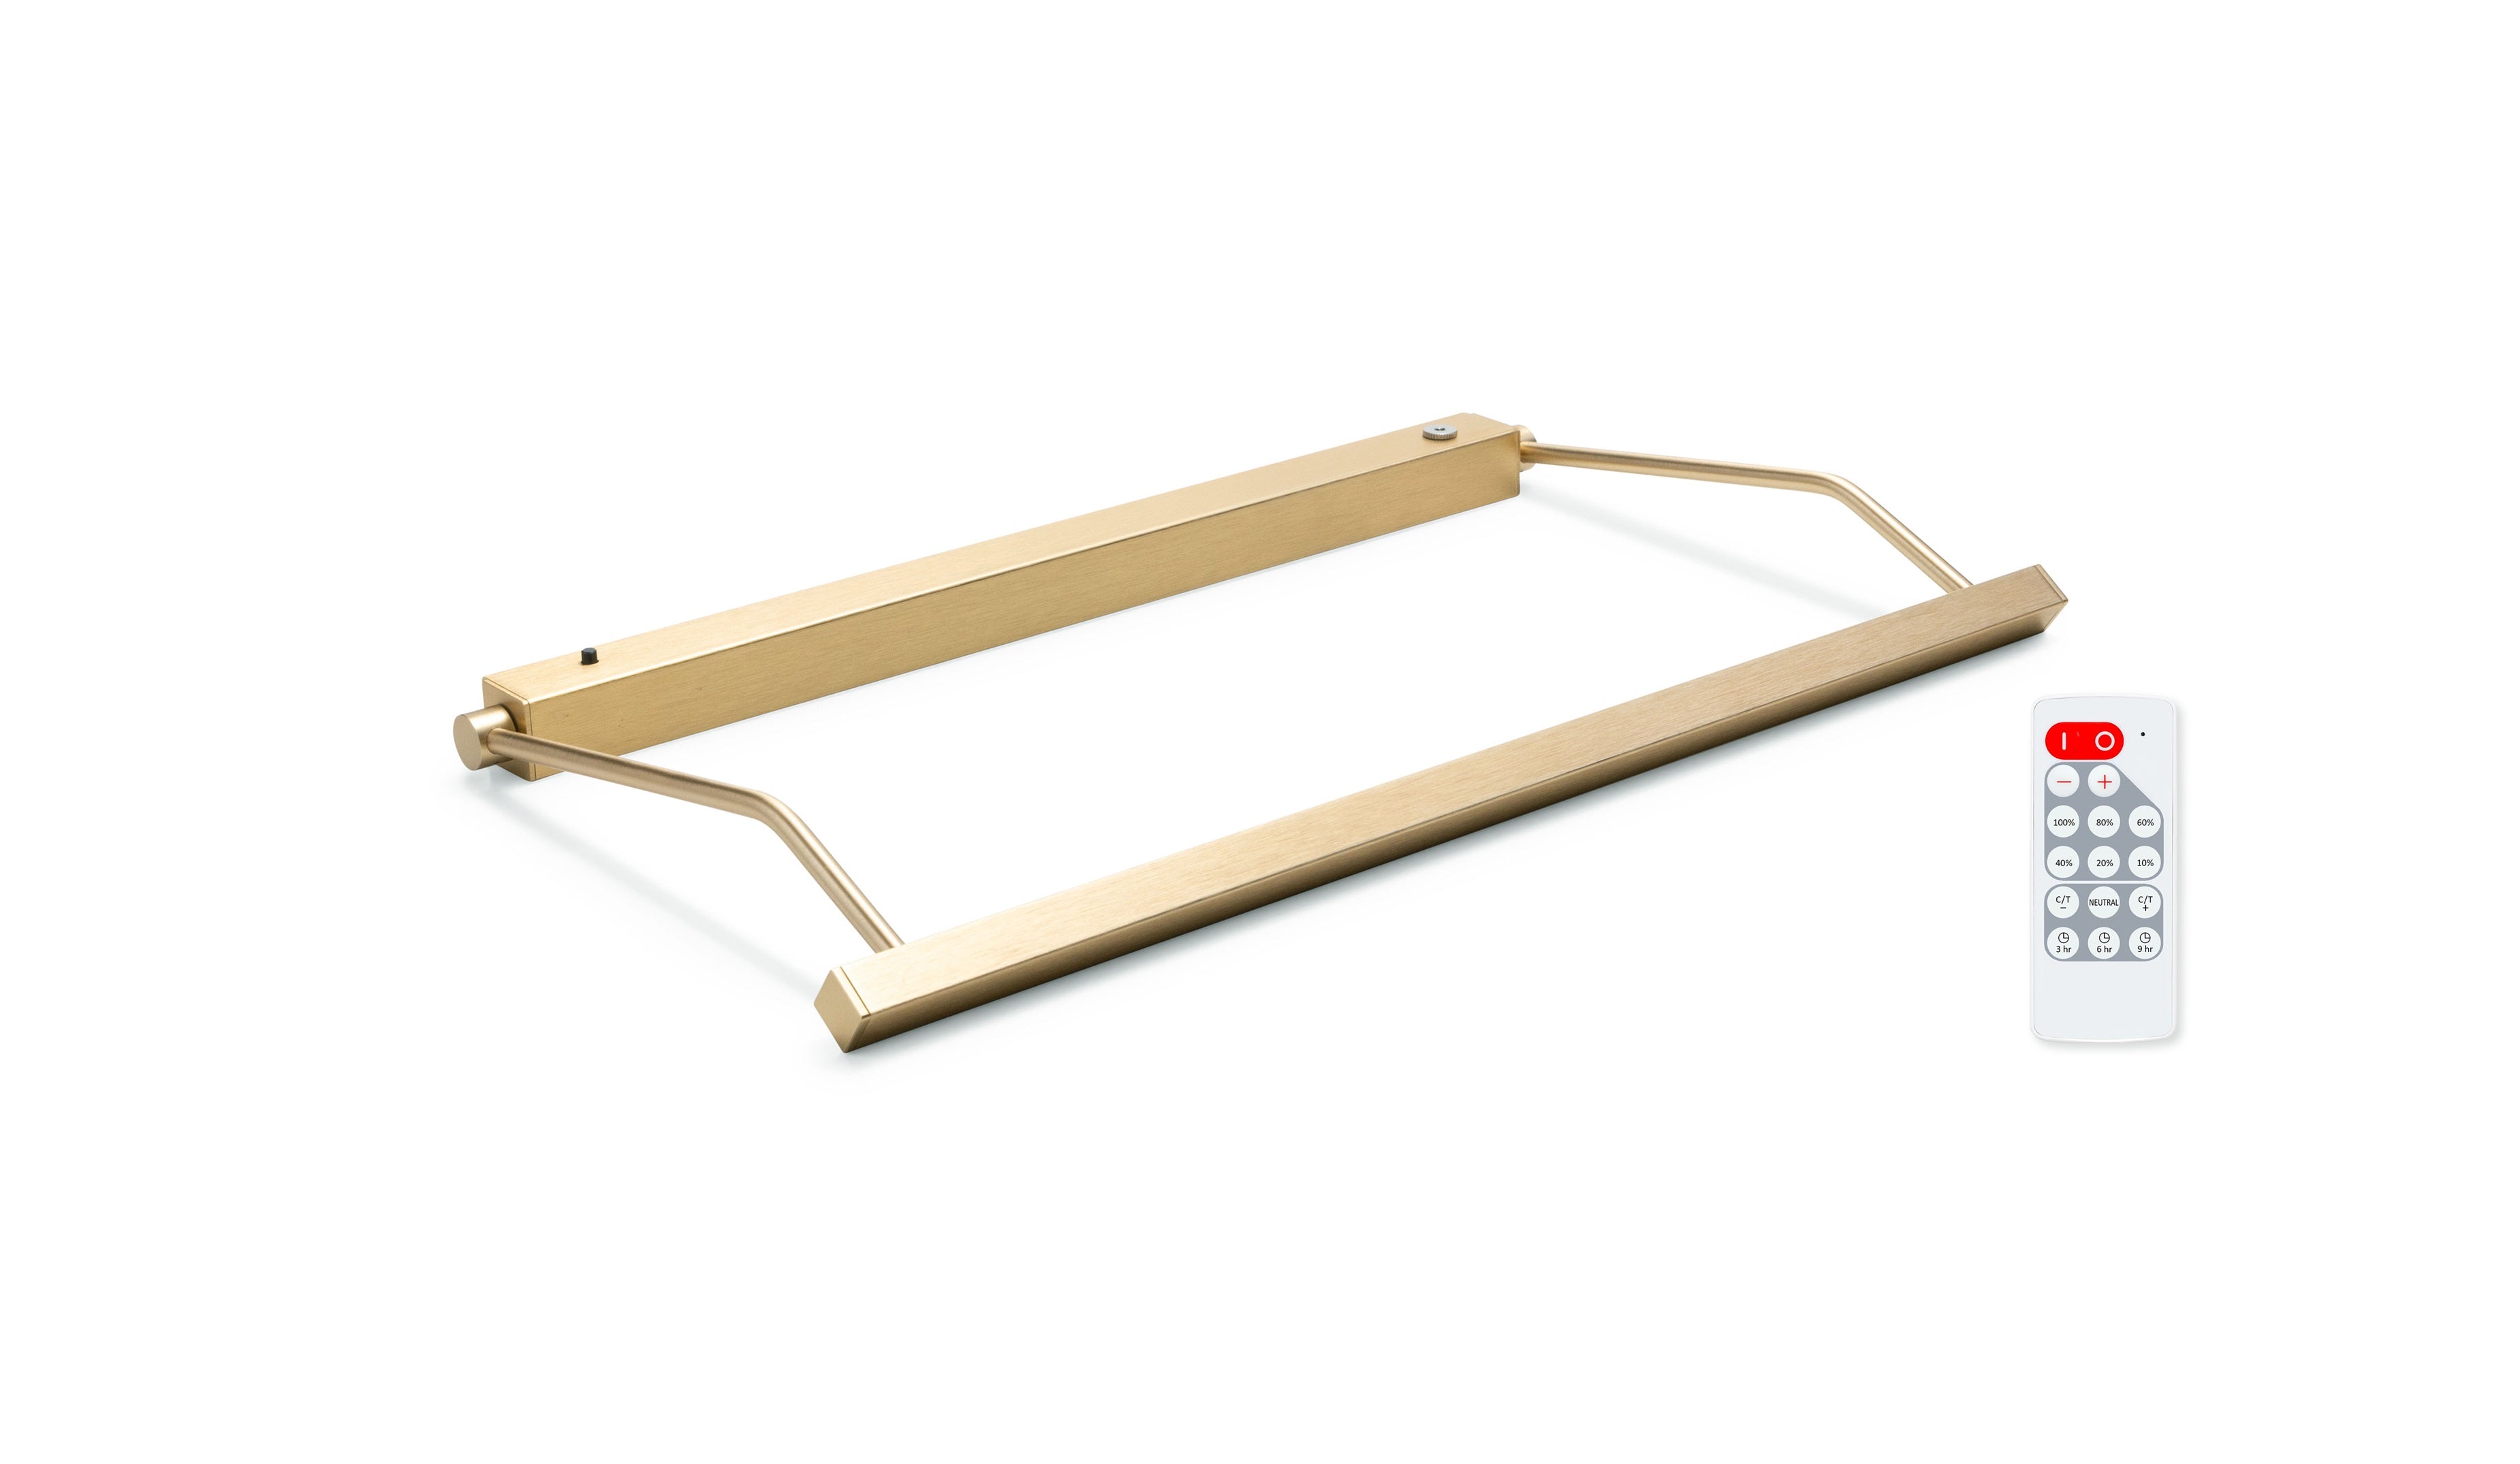
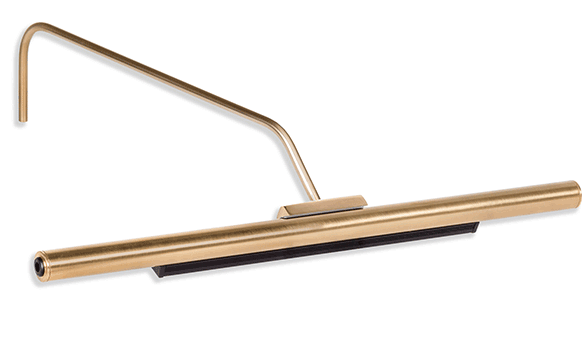
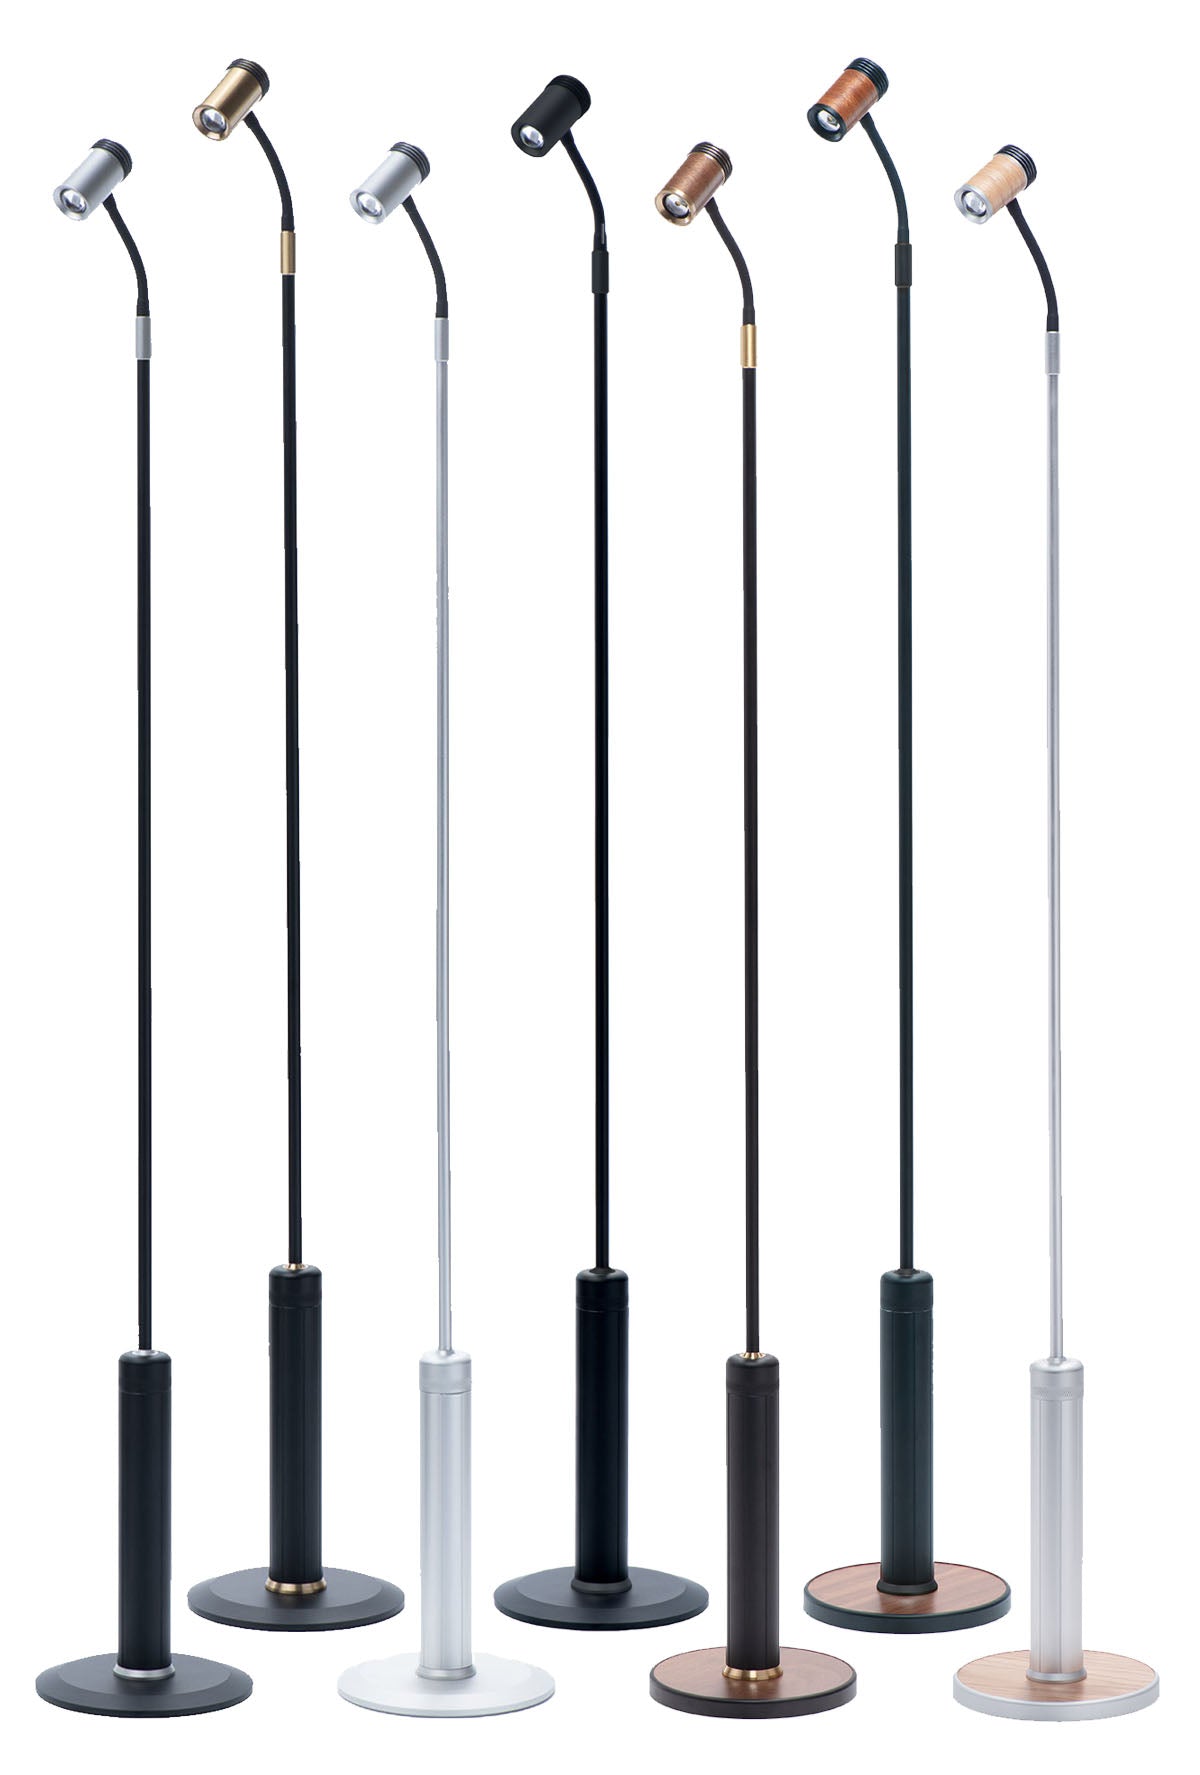
A plug-in light fixture is often the best choice in picture lighting for many pieces of art.
Large or tall artwork, for instance, is often best lit with a plug-in fixture rather than a rechargeable one. This especially applies to artwork beyond 50”W x 30”T or 42"W x 60"T, which is the maximum recommended coverage of our largest wireless systems – the Rechargeable Vision Series 29" sizes. Artwork larger than this simply requires too much space and expense for the battery pack of a rechargeable fixture. You can consider using multiple wireless fixtures, however, this can get quite expensive.
Additionally, some of our wireless battery-operated art lights must be kept within arm’s reach as they do not have remote controls due to parasitic drain. You can read more on our site about remote controls and wireless systems here, under the section titled 'Wireless (Battery Powered) Art Lighting": Click here. Artwork where the top is out of reach faces further issues with rechargeable systems, as it also becomes a burden to access or remove the light for charging or battery replacement in the event of eventual battery fatigue. Our plug-in fixtures come with a remote control for easy access to turn on/off, dimming control, as well as automatic shut-off timers - in addition to the convenience of never having to charge the light.
You may instead be looking for integration with a lighting control or home automation system via a smart outlet, or another type of outlet timer. This allows you to be in control of your fixture from your smart phone and would be another reason to choose a wired light fixture such as the Vision Series that is compatible with these systems.
If any of those factors apply to you, there may be places in your home that don’t have outlets readily available for the picture lighting you’ve chosen, leaving you with the undesirable presentation of visible wires hanging from your picture.
If you’re concerned about wires detracting from the presentation of your artwork, here are 5 options for concealing the wiring for your picture lights.
1. Install a Recessed Electrical Outlet
Having an outlet installed behind your artwork is always the preferred solution.
A plug-in light can then be controlled by the remote that is included with these fixtures. This remote control allows you to turn the light on and off, set three-hour, six-hour and nine-hour timers, and control dimming of the light.
If you’re planning an outlet behind your picture, then we recommend using a single gang recessed outlet mounting box. This creates a small recess in which a standard outlet is installed to accommodate the transformer required of LED lights (all low voltage lighting, not just ours.) Using this allows the power supply from your fixture to fit nearly flush within the wall, which provides for easy clearance of your artwork. All the cords will be hidden, providing a wireless appearance, with plug-in quality, intensity, and control – all without the hassle of recharging.
You can buy these on our site at the following link: Click here
With the exception of the Plug-in Micro Series (upon request), note that a clock box outlet will not be wide enough to accommodate the plug-in power supply of our fixtures.
If installing an outlet behind your artwork isn’t an option, then here are some other suggestions for concealing the wire from your picture light.
2. Use a Product Like Taperwire
There are products on the market that provide discreet, nearly invisible wiring to power your picture lighting, such as Taperwire and Ghost Wire.
Taperwire produces extremely thin wires (about 0.015” – or two human hairs thick!) backed by adhesive that are designed to be adhered to a wall and then painted or textured over. They are custom-made, as you provide the length of the wire required, as well as any 90-degree turns or bends. The wires are ultra-thin and flat, flexible, easy to install, and very affordable. Cost for the wiring is typically around $20-$30.
Taperwire boasts that all of their flat wire models will hide under paint, wallpaper, spackle, flooring, wallboards, moldings & cement:
“Our adhesive-backed flat wire is a unique solution to any wiring application where stealth & aesthetics are desired.”
Ghost Wire is another brand of ultra-thin electric wire that can be purchased online, making it possible for you to install at home.
The following images demonstrate before and after installation of our 1 Light Plug-in Micro Series installed using Taperwire, starting from a bulky, legacy fixture with exposed cordage.

3. Use A Cord Cover
A cord cover is an easy way to conceal and tidy the wire hanging from a picture light. This provides you with the flexibility to change locations of your art without necessarily adding a new outlet behind your artwork.
These can be purchased at many big box stores in colors that will blend with or complement your wall color. You can also paint the cord cover to match your wall. Be sure to paint with two coats, allowing the cord cover to dry between coats to avoid streaking and achieve the best camouflage.
It’s a straight-forward process to measure your space for a cord cover – be sure to use a level to ensure it’s installed in a straight line.
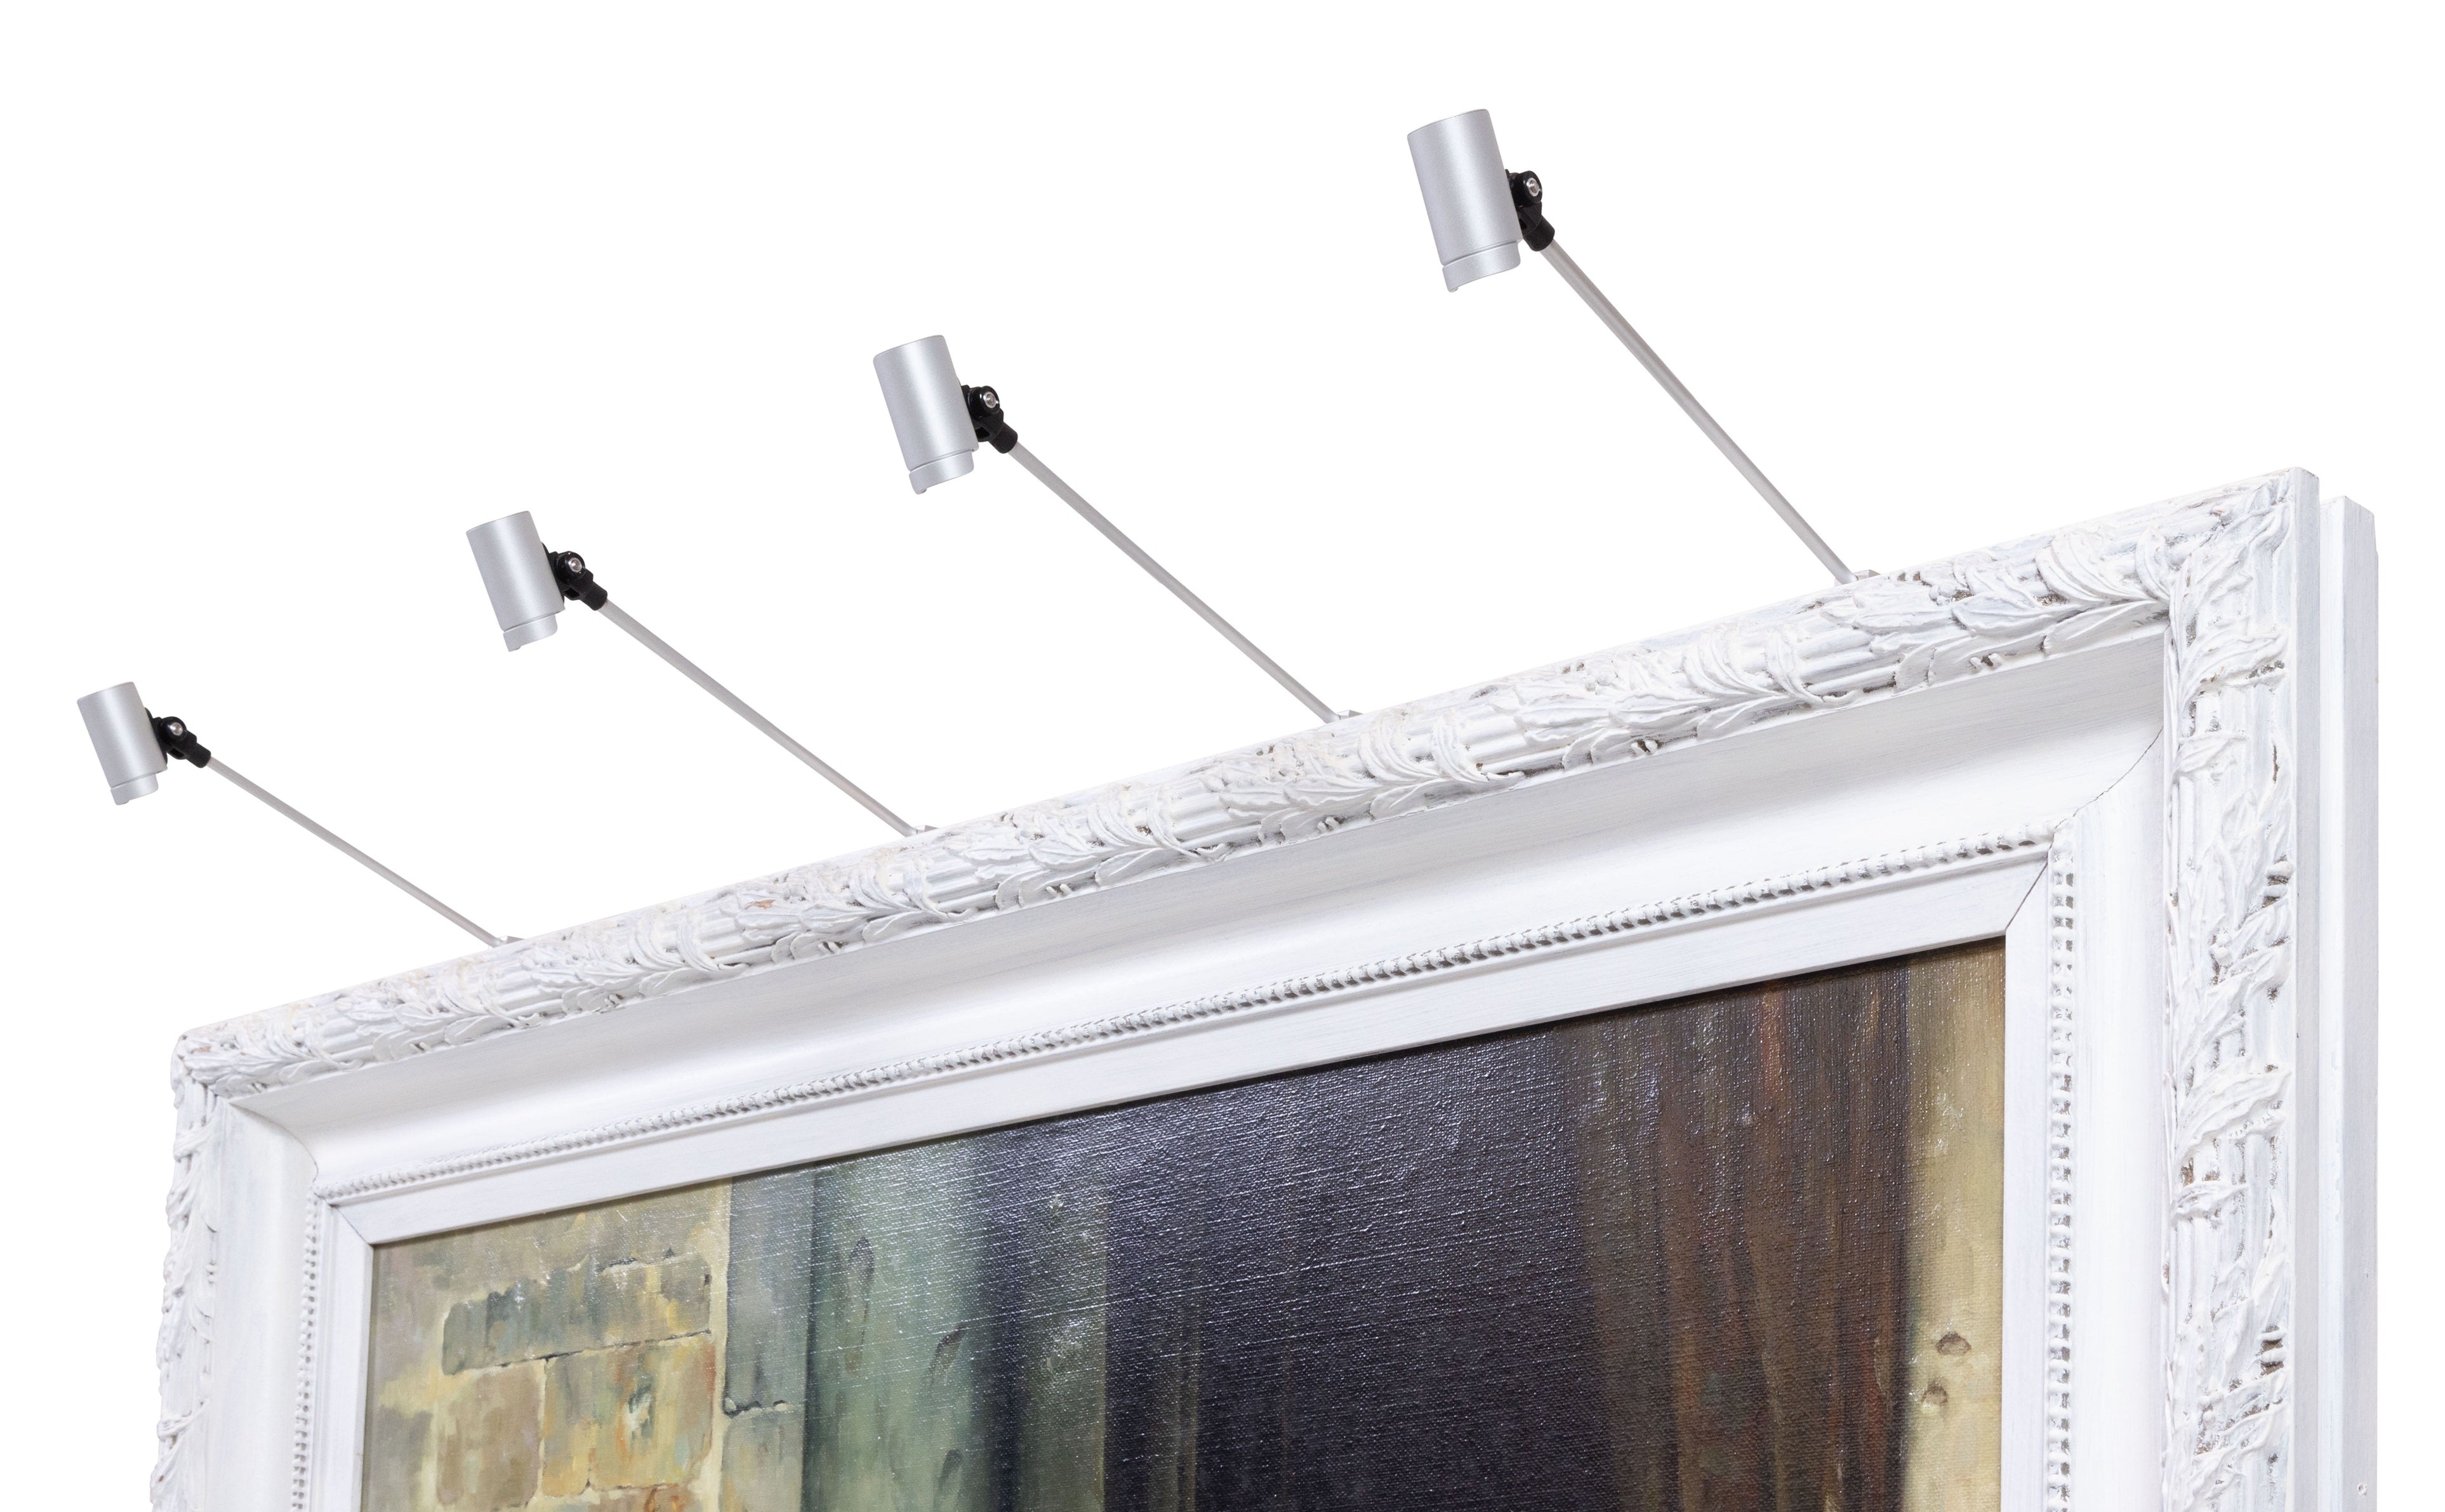
4. Route the Wiring Through the Wall
Another option, electrical code withstanding, is to route the low voltage wiring that’s included with our products through your wall to an existing outlet. The outlet could be located on the same wall, or even a room on the other side of the wall.
To do this, mark and cut two holes in the wall—one behind the picture where the low voltage wire will enter the wall, and the second near the electrical outlet you intend to use. We use small (1/2 inch) DC connectors on both ends of the included extension cord that allow these holes to remain small and the wire to pass through easily. Then, if you want to clean up the appearance of the small holes, you can use a brush plate to cover it. See below for an example of a brush plate.
5. Conceal with Furniture or Other Décor
This option is one that utilizes items already found in your home – your furniture or other décor. Sometimes, the simplest solution to hide wires is placing furniture (like a cabinet or credenza) below your artwork and in front of your outlet. This would allow the power supply and wiring to be concealed behind your furniture without the need for external supplies or assistance. A combination of the cord covers in option #3 and furniture strategically placed below your artwork will provide for a discreet, low profile presentation.
6. Use a Direct Connect Fixture
While not necessarily a method of "concealing wiring", our Direct Connect Vision Series eliminates visible wiring from the fixture by using a driver that is housed within the base of the fixture in lieu of external wires leading to a plug. This light connects directly to a junction or switch box above the artwork, so this method is most easily used in locations where power is already accessible or new construction.
You can learn more about the Direct Connect Vision Series here: Click here
Lighting the Way
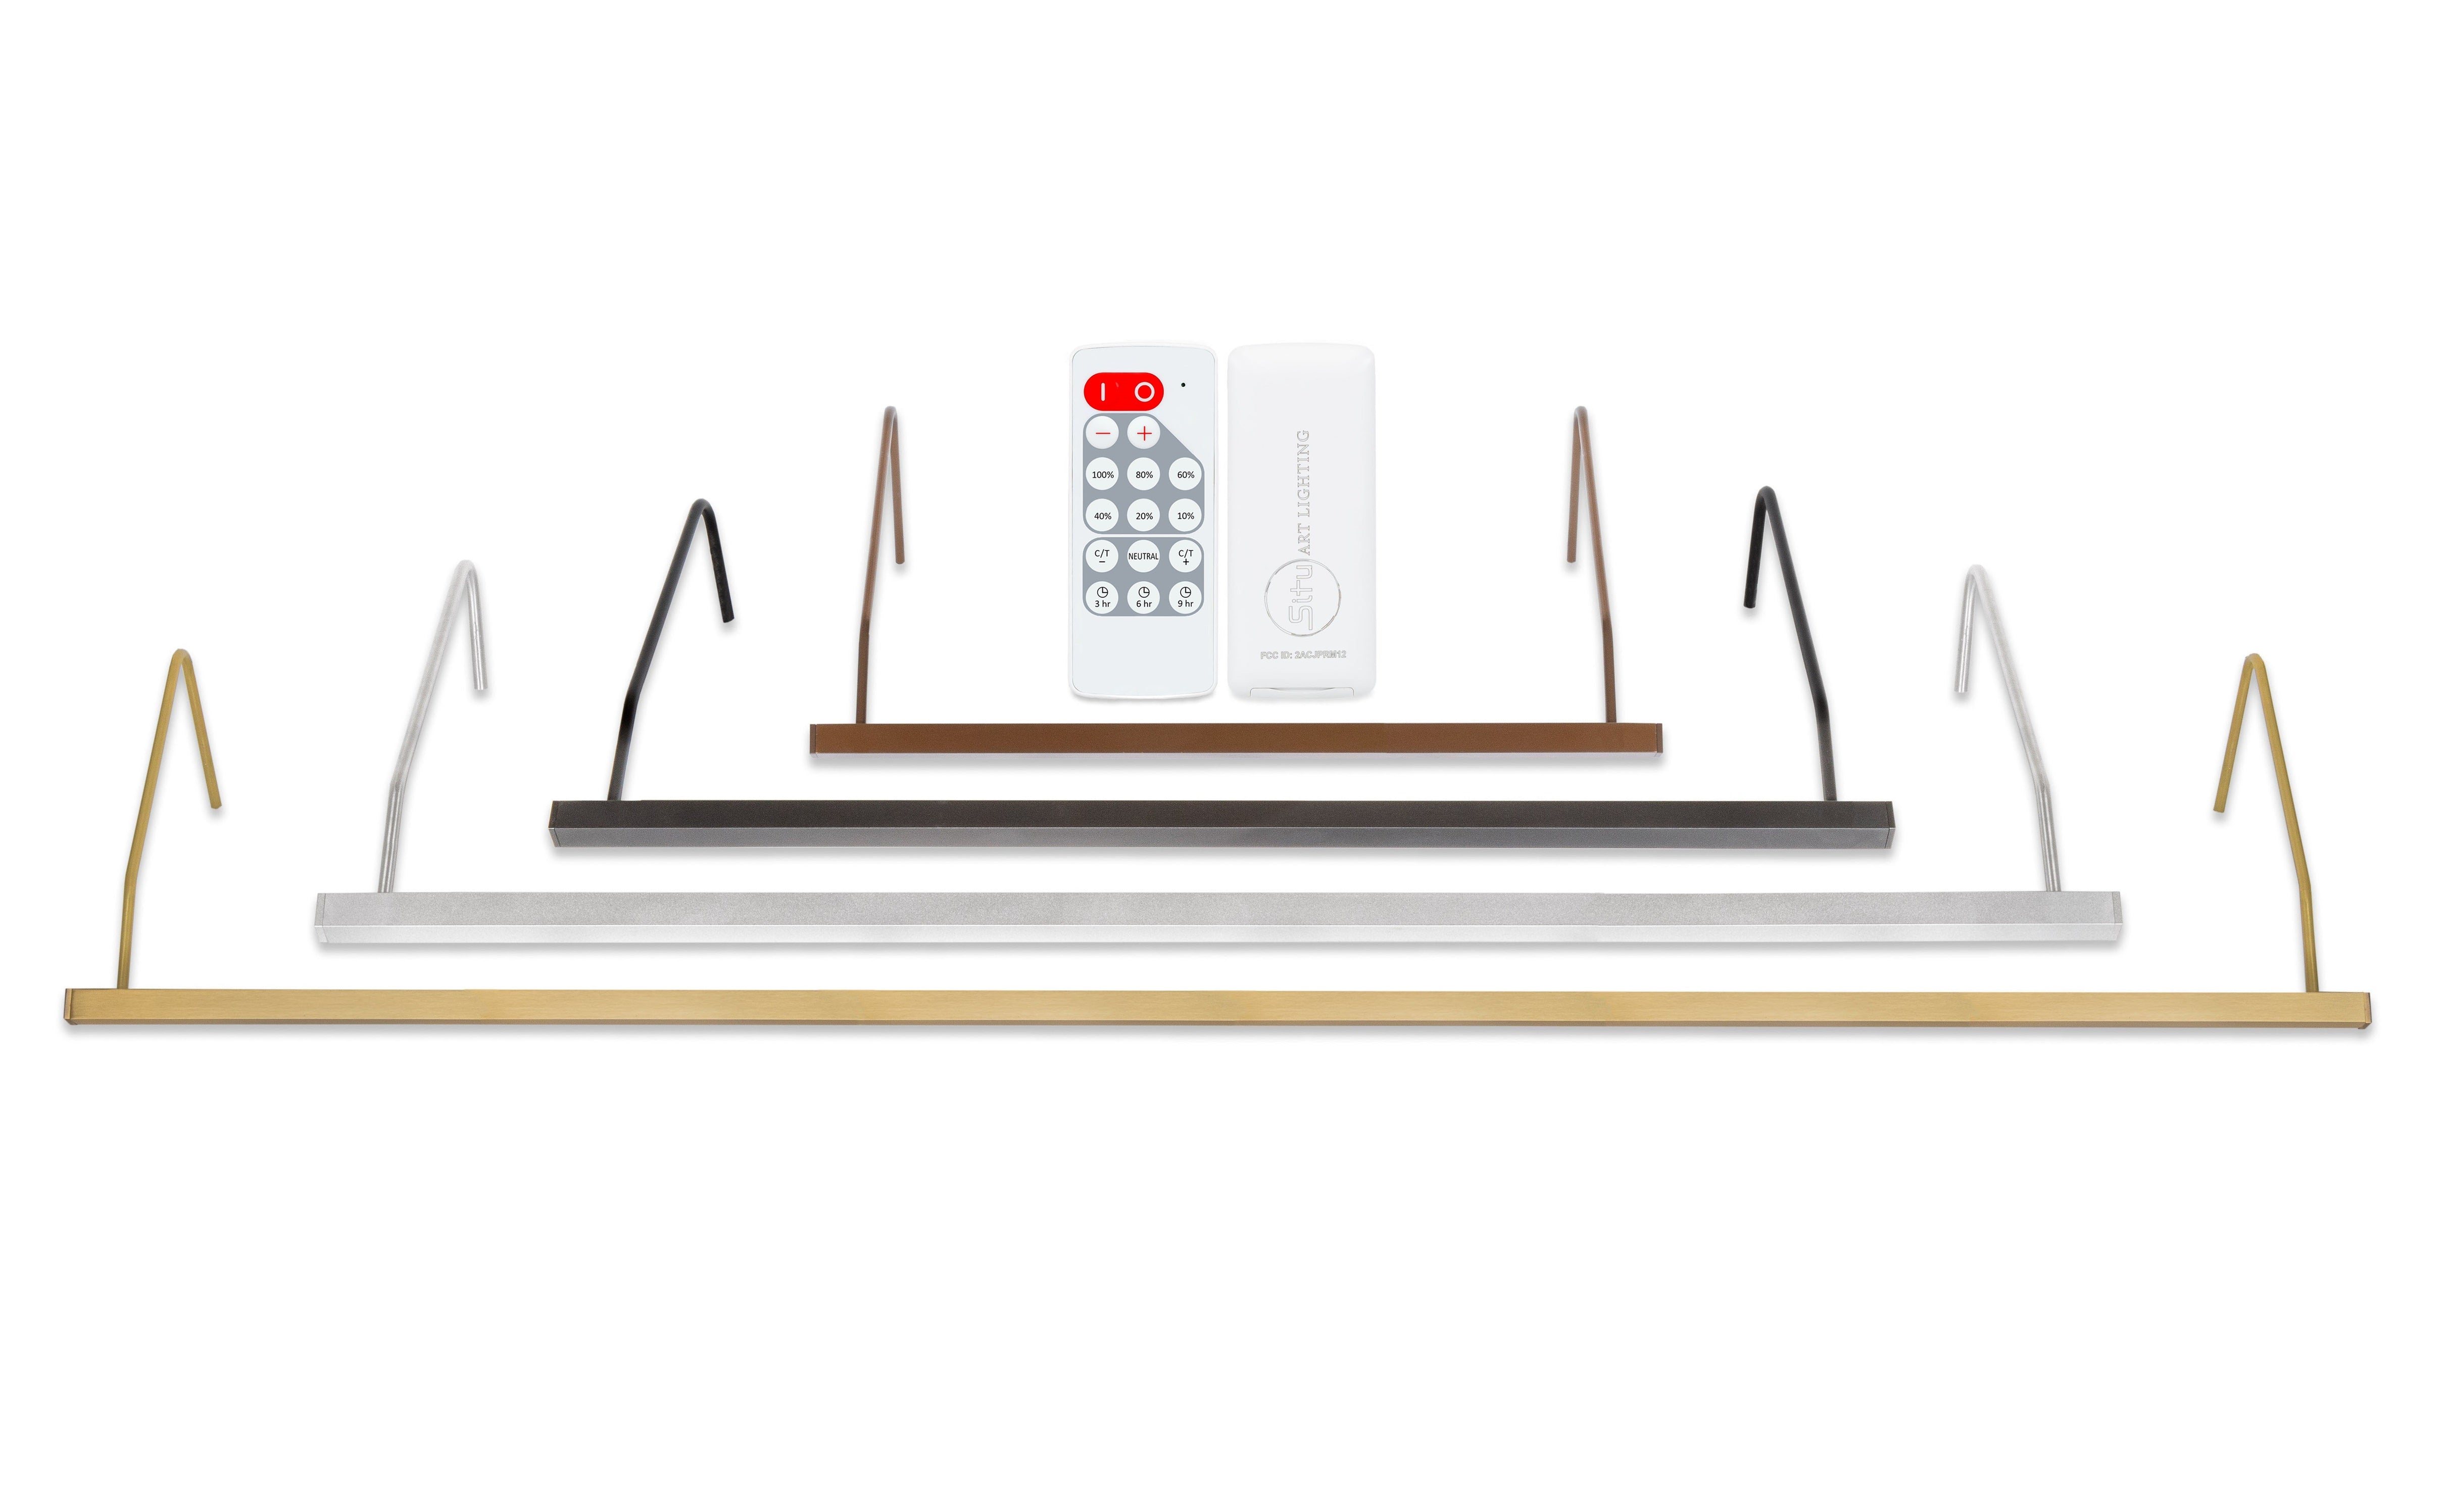
When it comes to choosing picture lighting, we have many options for plug-in, hardwired, and wireless lights, all in different styles and finishes. If you want help making a selection, we can review pictures and dimensions of your artwork and make recommendations.
Don’t hesitate to give us a call at 1-800-561-0492 or email us at info@situlighting.com.