Choosing the right artwork for your home is a personal decision that revolves around emotion as much as décor.
You decide where to place the picture, what height to hang the art, and what furniture may be part of the surrounding décor .
Next is choosing the type of picture lighting that will illuminate it properly, revealing the true colors of your chosen artwork. Decisions are made about picture lights, such as the style, whether it will be a wired or wireless art light, and ideas for concealing the wiring if you opt for a plug-in light.
Further to the style of light, you also need to determine the size of the fixture.
Knowing how to measure for a picture light is vital to properly illuminating artwork. Here are the steps to follow when measuring for a picture light.
Key Steps for Proper Illumination
-
Step 1: Measure Artwork Dimensions: Use both framed and unframed measurements to determine the right light placement and intensity. The difference between these dimensions affects the light’s coverage and intensity.
-
Step 2: Choose the Right Size Light: The fixture should ideally be 1/2 to 2/3 the width of the artwork when using a bar light, though smaller spot light systems are also available that subvert this rule. Larger artwork may require multiple fixtures for even coverage.
-
Step 3: Focus on Size, Not Lumens: Focus on proper light distribution and coverage rather than just lumens. Lumens measure total light output, but for art, it's about how light is applied to the piece.
-
Inverse Square Law: Light intensity decreases as distance increases. Adjust the fixture height for the best coverage and intensity based on your artwork’s size.
-
Vertical Adjustment: Many fixtures offer vertical adjustment, allowing flexibility to fine-tune the lighting angle and distance for optimal results.
-
Multiple Fixtures for Large Art: For large or tall artwork (over 35”), consider systems like the Plug-in Vision Series or Plug-in ArtTrack for full coverage and control.
Step #1: Measure Framed and Unframed Dimensions
Our website includes a selector tool that is built for the dimensions of the artwork only. You enter the dimensions (width and height) of your unframed artwork, excluding frame and mat, and the tool provides a recommendation on lighting for the artwork.
This tool offers some general advice that is predicated on the artwork having a 3-5” frame. A more comprehensive recommendation can be provided by our team and will require the framed and unframed dimensions, as well as images of your artwork.
Having both the framed and unframed dimensions of the artwork is important as the difference between these dimensions greatly impacts the height of the fixture over the artwork, more specifically the distance between the light source and the subject (your artwork). All light in the world is emitted in a cone; In physics this is defined as the inverse square law. This means that the greater the distance between the source and subject, the greater the lateral coverage, but conversely, the less intensity is available.
A simple example:
A flashlight held near a wall at one foot away will shine a small, very tight, concentrated spotlight. Move the light to 10 feet away from the wall, and the result is a much larger, softer spread of light. This relationship is defined by the inverse square law.
The addition of a frame and mat moves the art light farther from the picture, increasing the distance from light source to subject (your artwork). This, of course, has a direct relationship to not only the available coverage, but also the intensity offered by the fixture.
If the artwork is unframed or has a very thin frame, a larger light may be needed to properly illuminate the artwork. This is done to offset the reduced distance from source to subject and the previously described reduction in coverage.
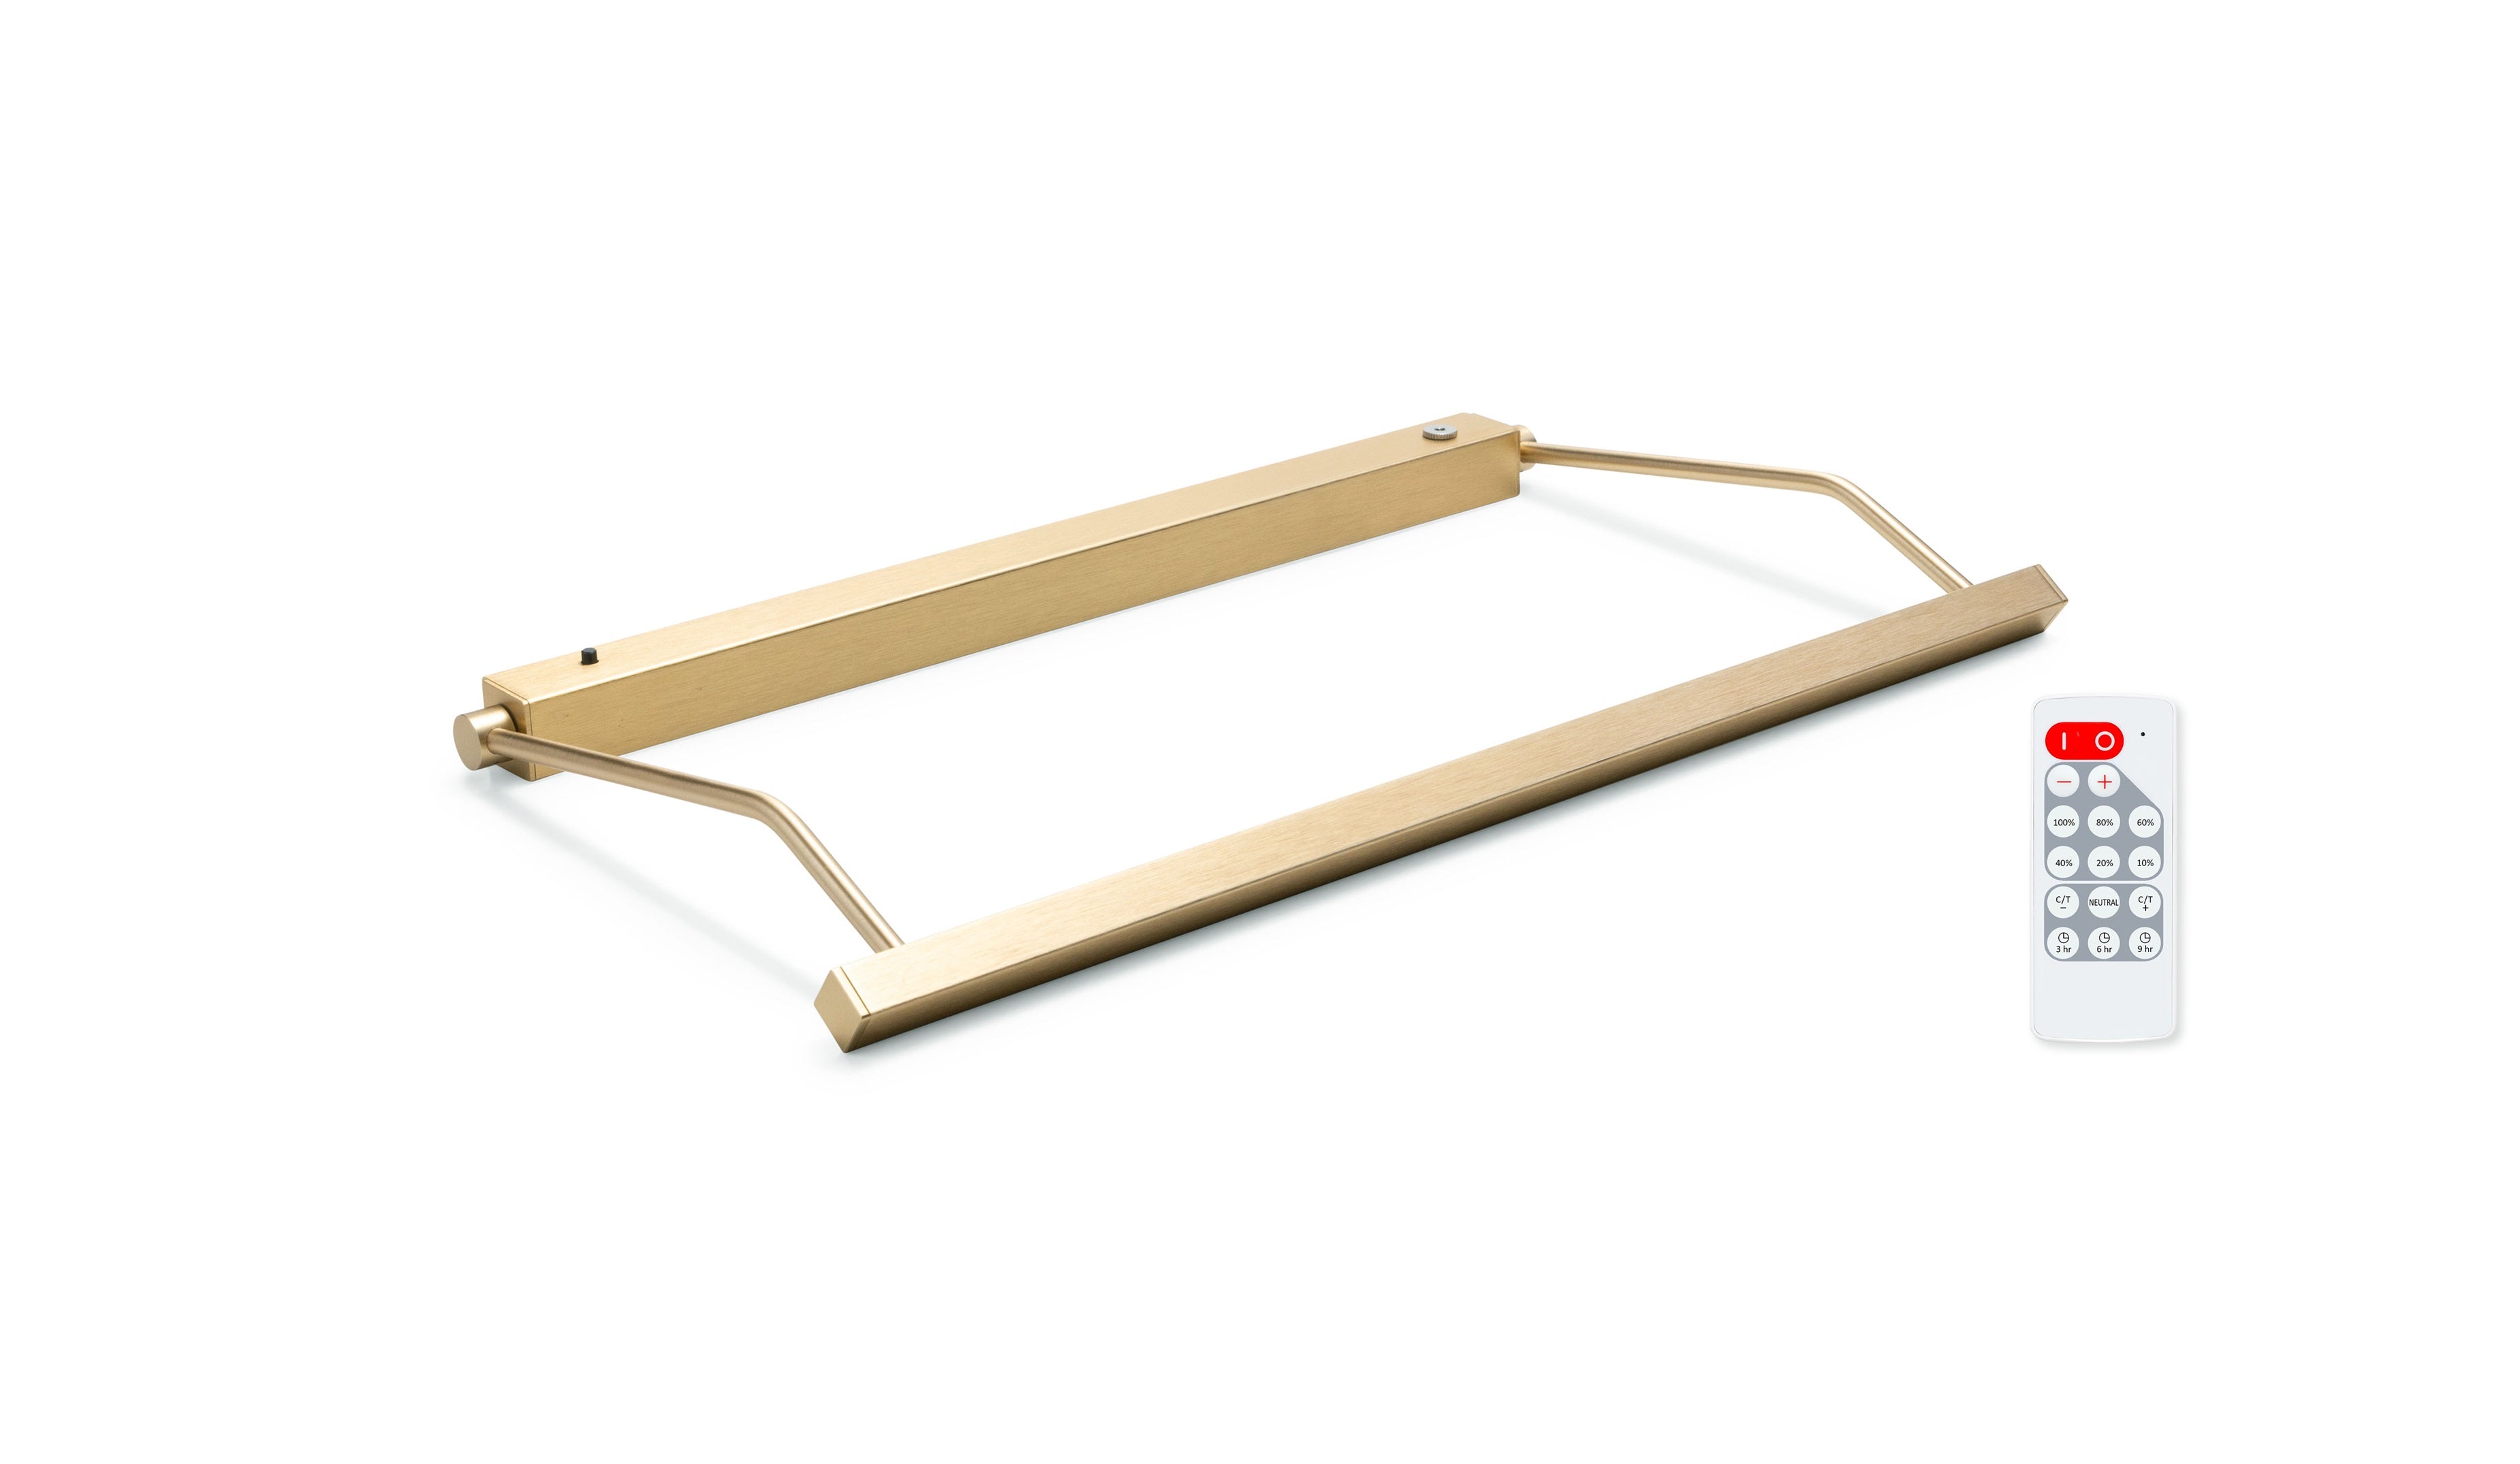
All of our fixtures, with the exception of the Rechargeable Micro Series, offer a vertical adjustment to allow for raising the art light. This is included to allow for adjustment of the distance from source to subject (therefore adjusting lateral coverage), to provide a means to help mitigate glare, and finally to allow adaptation to frames of various sizes.
Step #2: Ensure the Light is Large Enough
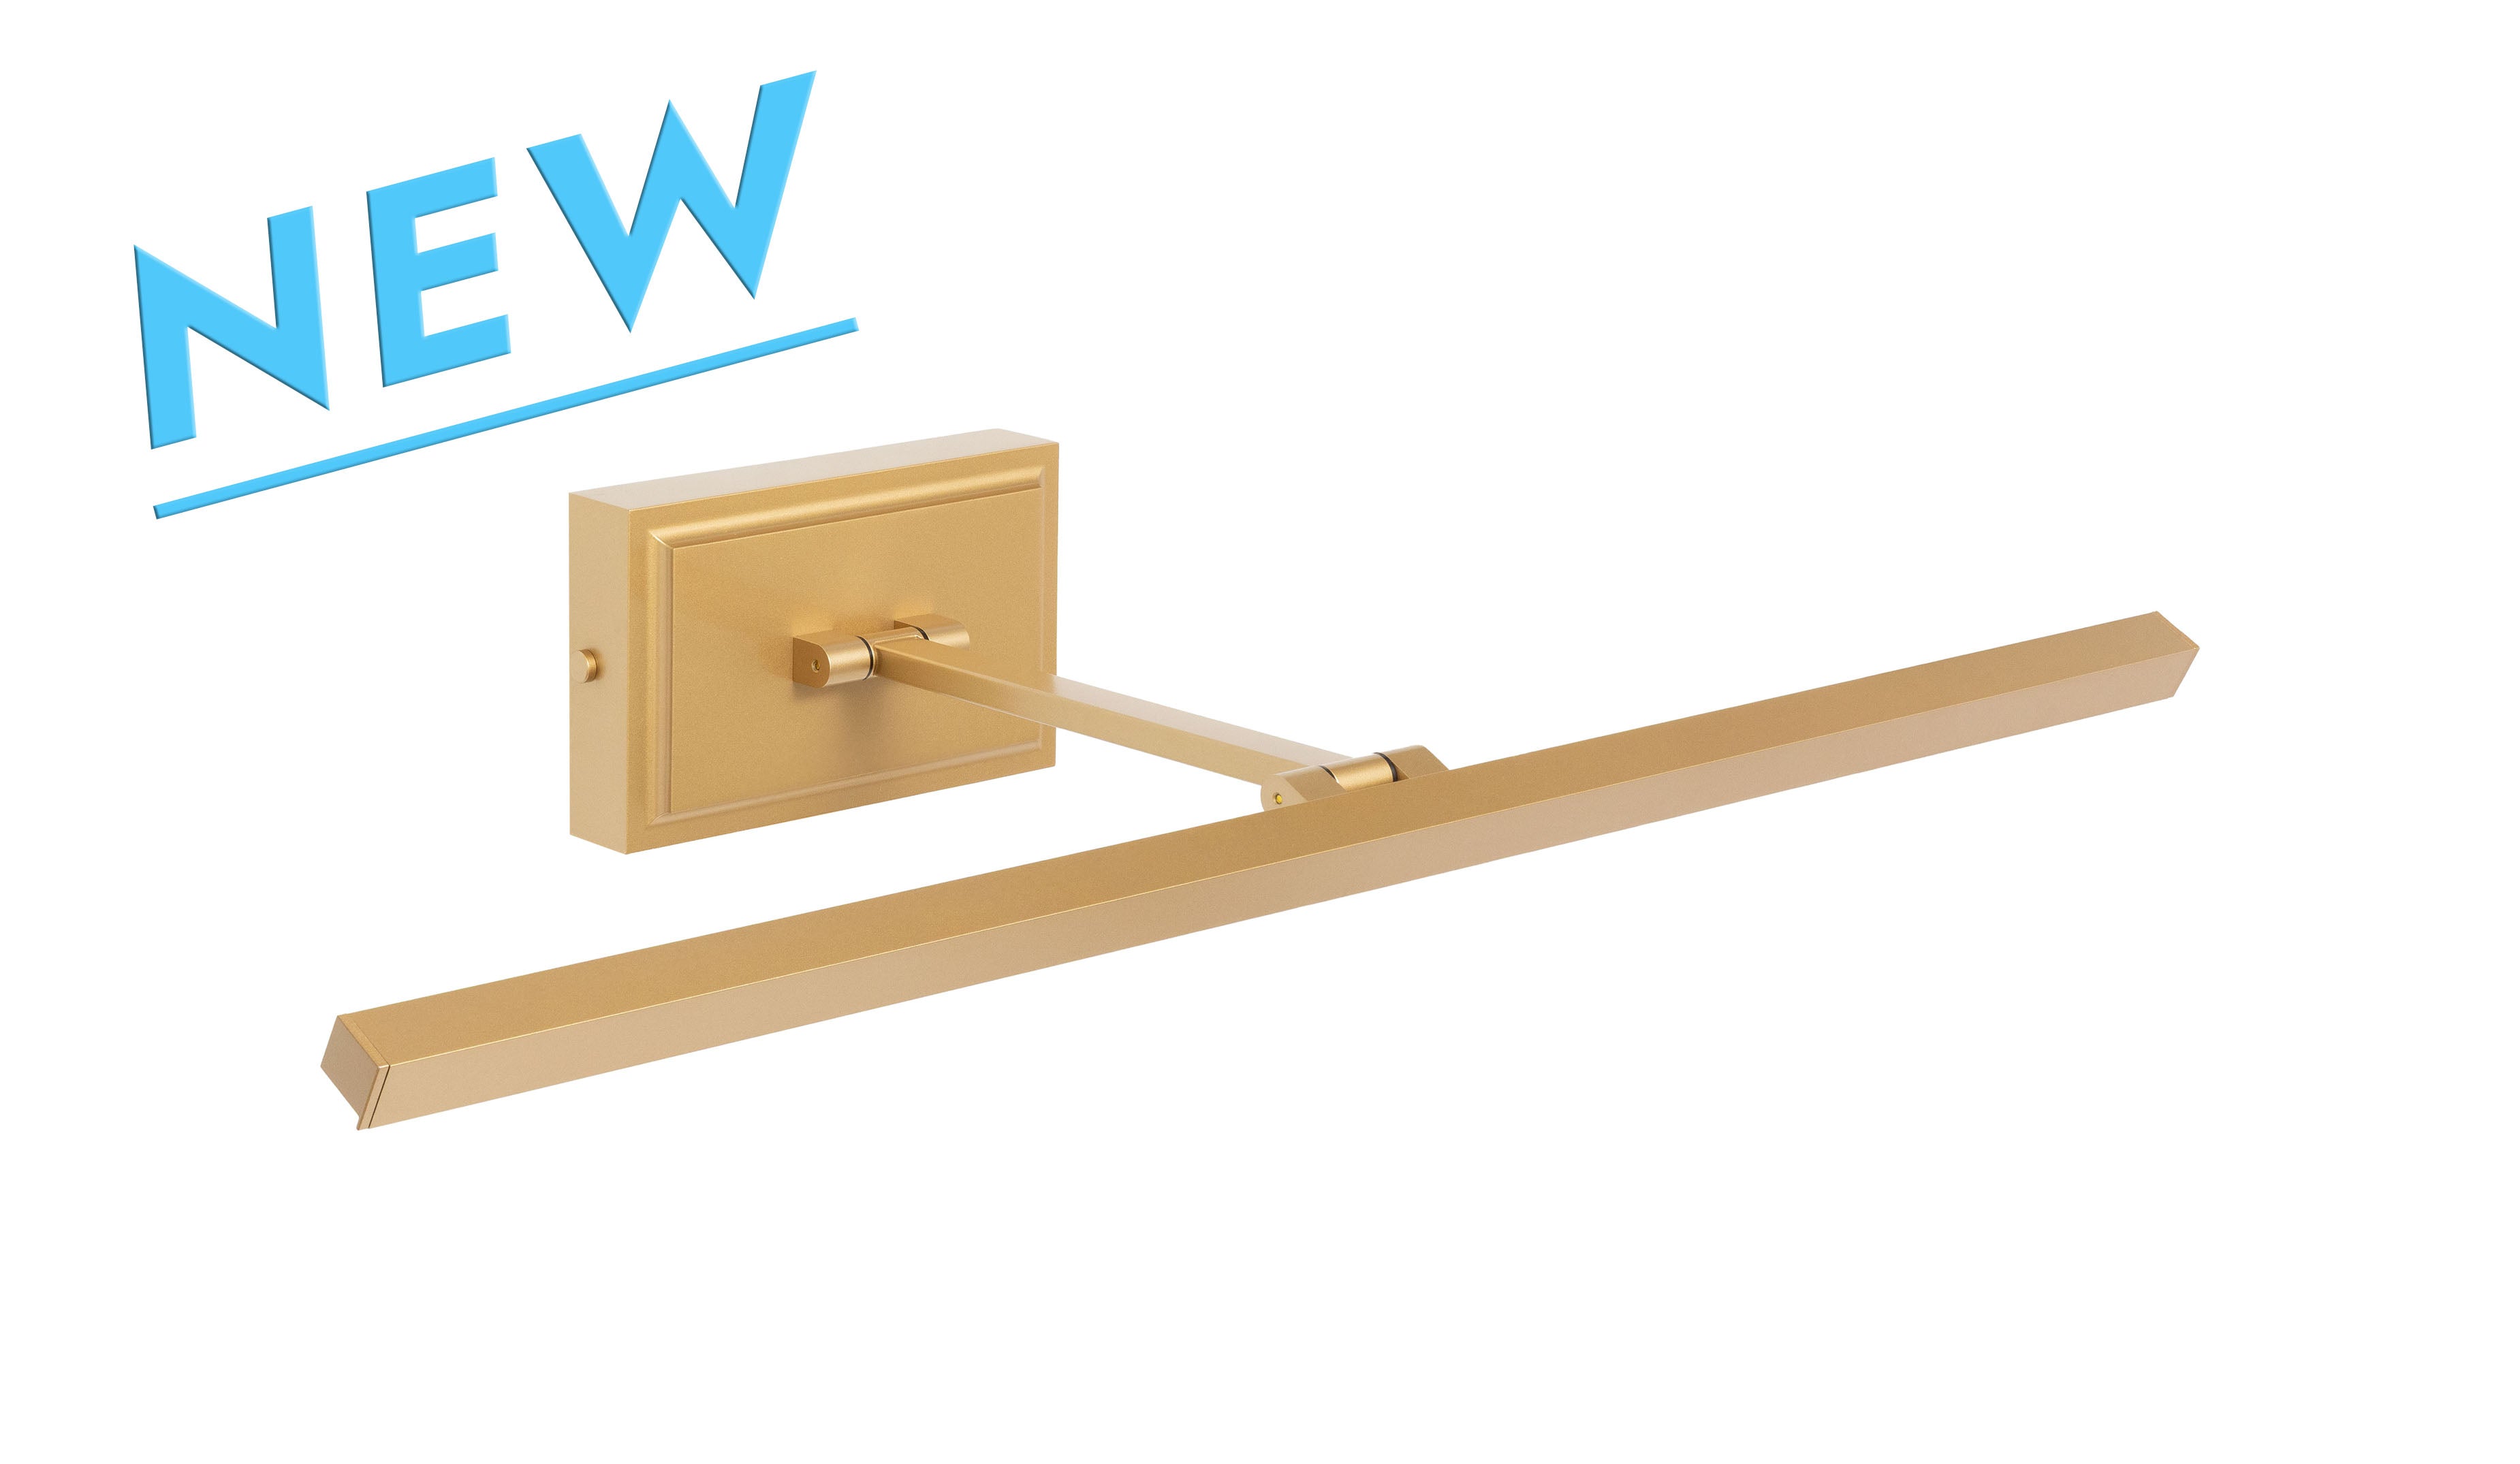
Once the dimensions of your artwork have been determined, they’ll need to be properly taken into consideration to ensure desired coverage from a fixture. The traditional rule of thumb was to have a picture light that is at least 1/2 – 2/3 the width of the artwork. Our use of proprietary optical systems has largely rewritten these rules and we caution against the use of generalities with art lighting. The size and shape of light output from LED fixtures can vary widely, especially when compared to legacy halogen or incandescent fixtures using standard bulbs. Similarly, artwork shape and composition can result in different lighting requirements.

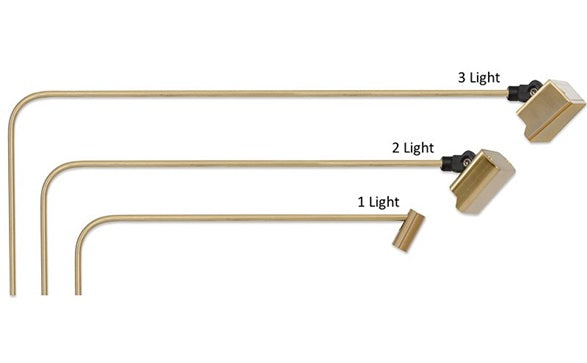
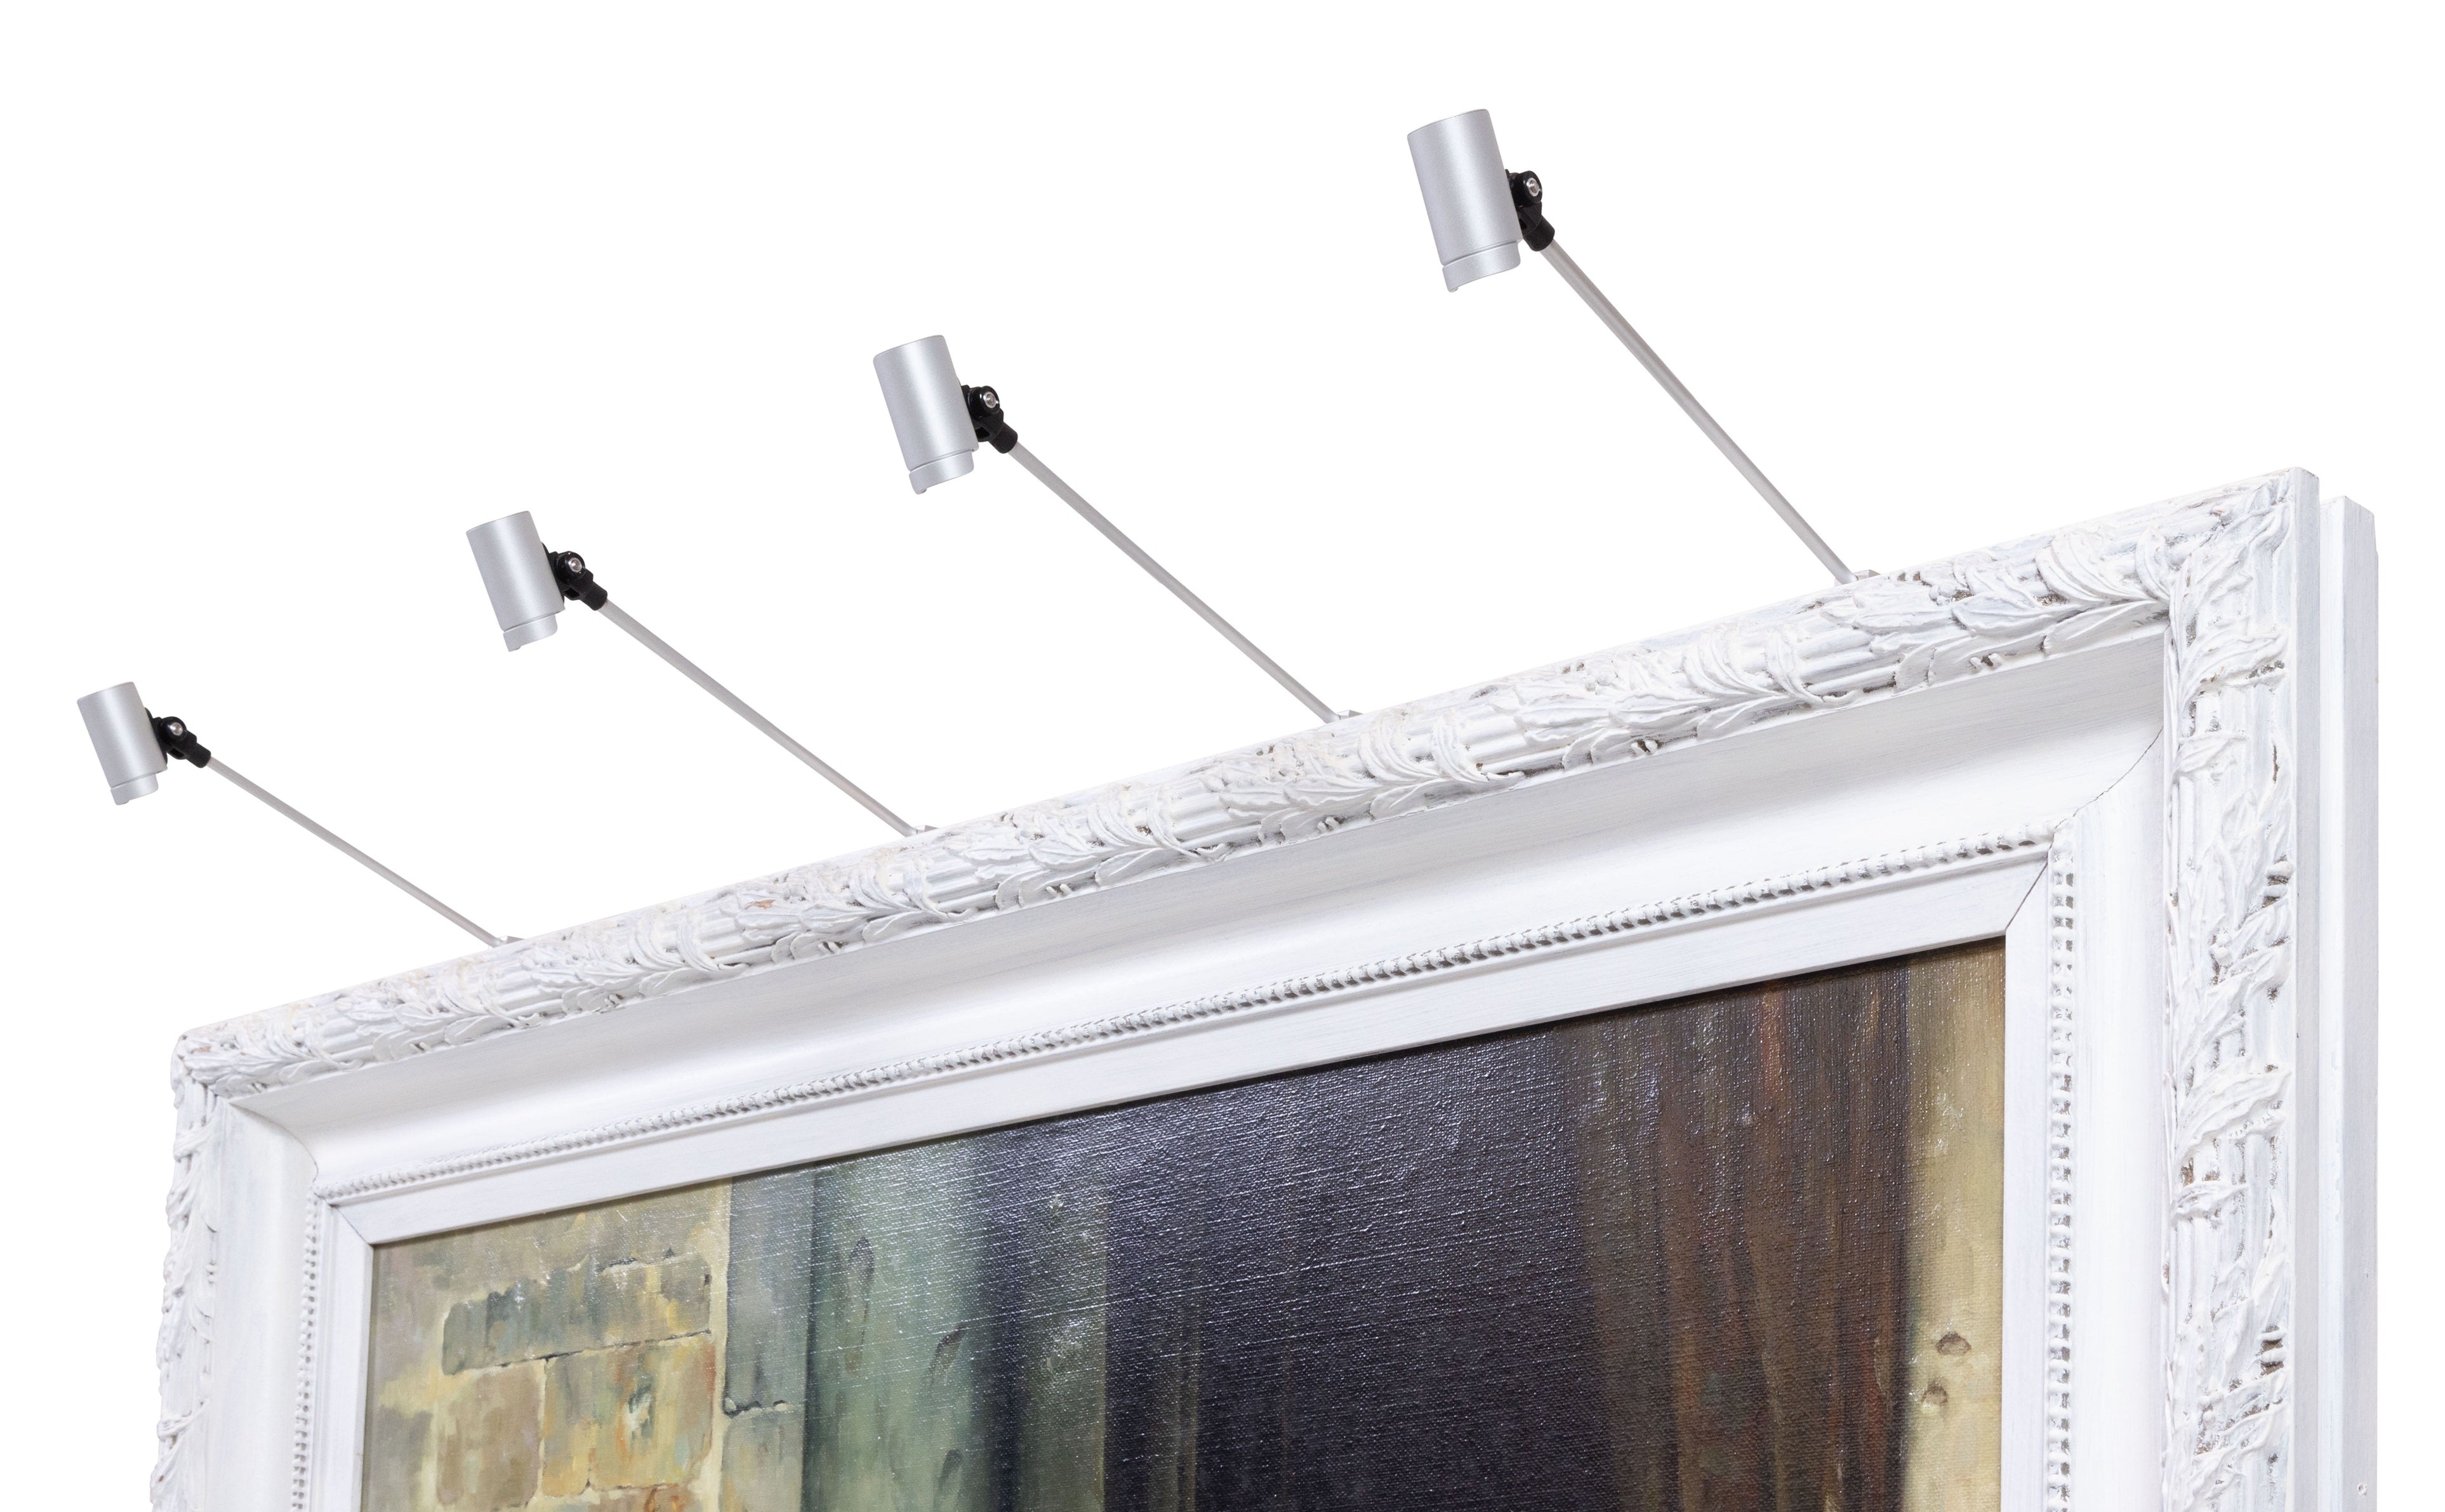
For artwork greater than 35” in height, our Plug-in Vision Series, Plug-in ArtTrack, and Direct Connect Vision Series use a combination of cutting edge optics to provide greater vertical intensity. We recommend some versions of these fixtures for artwork up to 60” in height, but many customers are pleased using them on much taller works. If an art lighting manufacturer does not discuss or disclose the maximum height for their fixtures, know that it is most likely 25”-35”. There’s a reason they don’t discuss this!
There are also instances where a piece is wider than the maximum recommended size for a fixture. Multiple fixtures can be used to allow for full coverage of your artwork. The Plug-in ArtTrack, for instance, is designed specifically for medium to large artwork, up to 60 inches tall. The ultra low-profile track system allows for inconspicuous side-by-side installation of two fixtures with both unframed artwork and flush mount frames. Additionally, two Plug-in Vision Series can be installed side by side for pieces greater than the recommended maximum lateral dimensions. Both of these systems are able to be paired to a singular remote control for a seamless experience.
Step #3: Make a Selection By Size, Not Lumens
When you’re shopping for picture lights, you may encounter information about lumens or candela. These are measures of light intensity combined from all directions (including those in a direction other than towards your artwork). More than anything, art lighting is about proper distribution of light. This is why we discuss fixtures in terms of artwork sizes instead of lumens. Using artwork sizes takes into consideration more important factors like coverage and distribution of light. Lumens alone are strictly a measure of total light output in every direction, and therefore aren’t relevant as the sole metric for art lighting.
To revisit our earlier analogy, once again imagine a flashlight held up to a wall. The flashlight would feature the same lumens at a 1’ distance as it would at 10’ distance, but offer very different coverage and distribution of light on the subject.
These characteristics of light are defined with the inverse square law. It is less about how much light can be created, and more about how the light is applied to the artwork. Our principal concern remains providing proper coverage, distribution, and intensity on artwork of various sizes and compositions. The objective suggested by those using lumens to define their products is that the simple creation of intense light is the goal, which should not be the case for artwork.
Our art lighting aims to provide visibly uniform light distribution over the entire work of art. Traditional lighting often creates a hotspot at the top of the picture that then relies on dispersion to the lower area. We use specialized optical systems to capture, concentrate, and redistribute light that brings your artwork to life.
Note that while we feel artwork sizing is the best context for recommendations, we do have the lumens of each of our fixtures available in their dedicated cut sheets for those that are curious. These can be found in the ‘Tech Specs’ section of each product page, just above the product reviews.
Lighting the Way
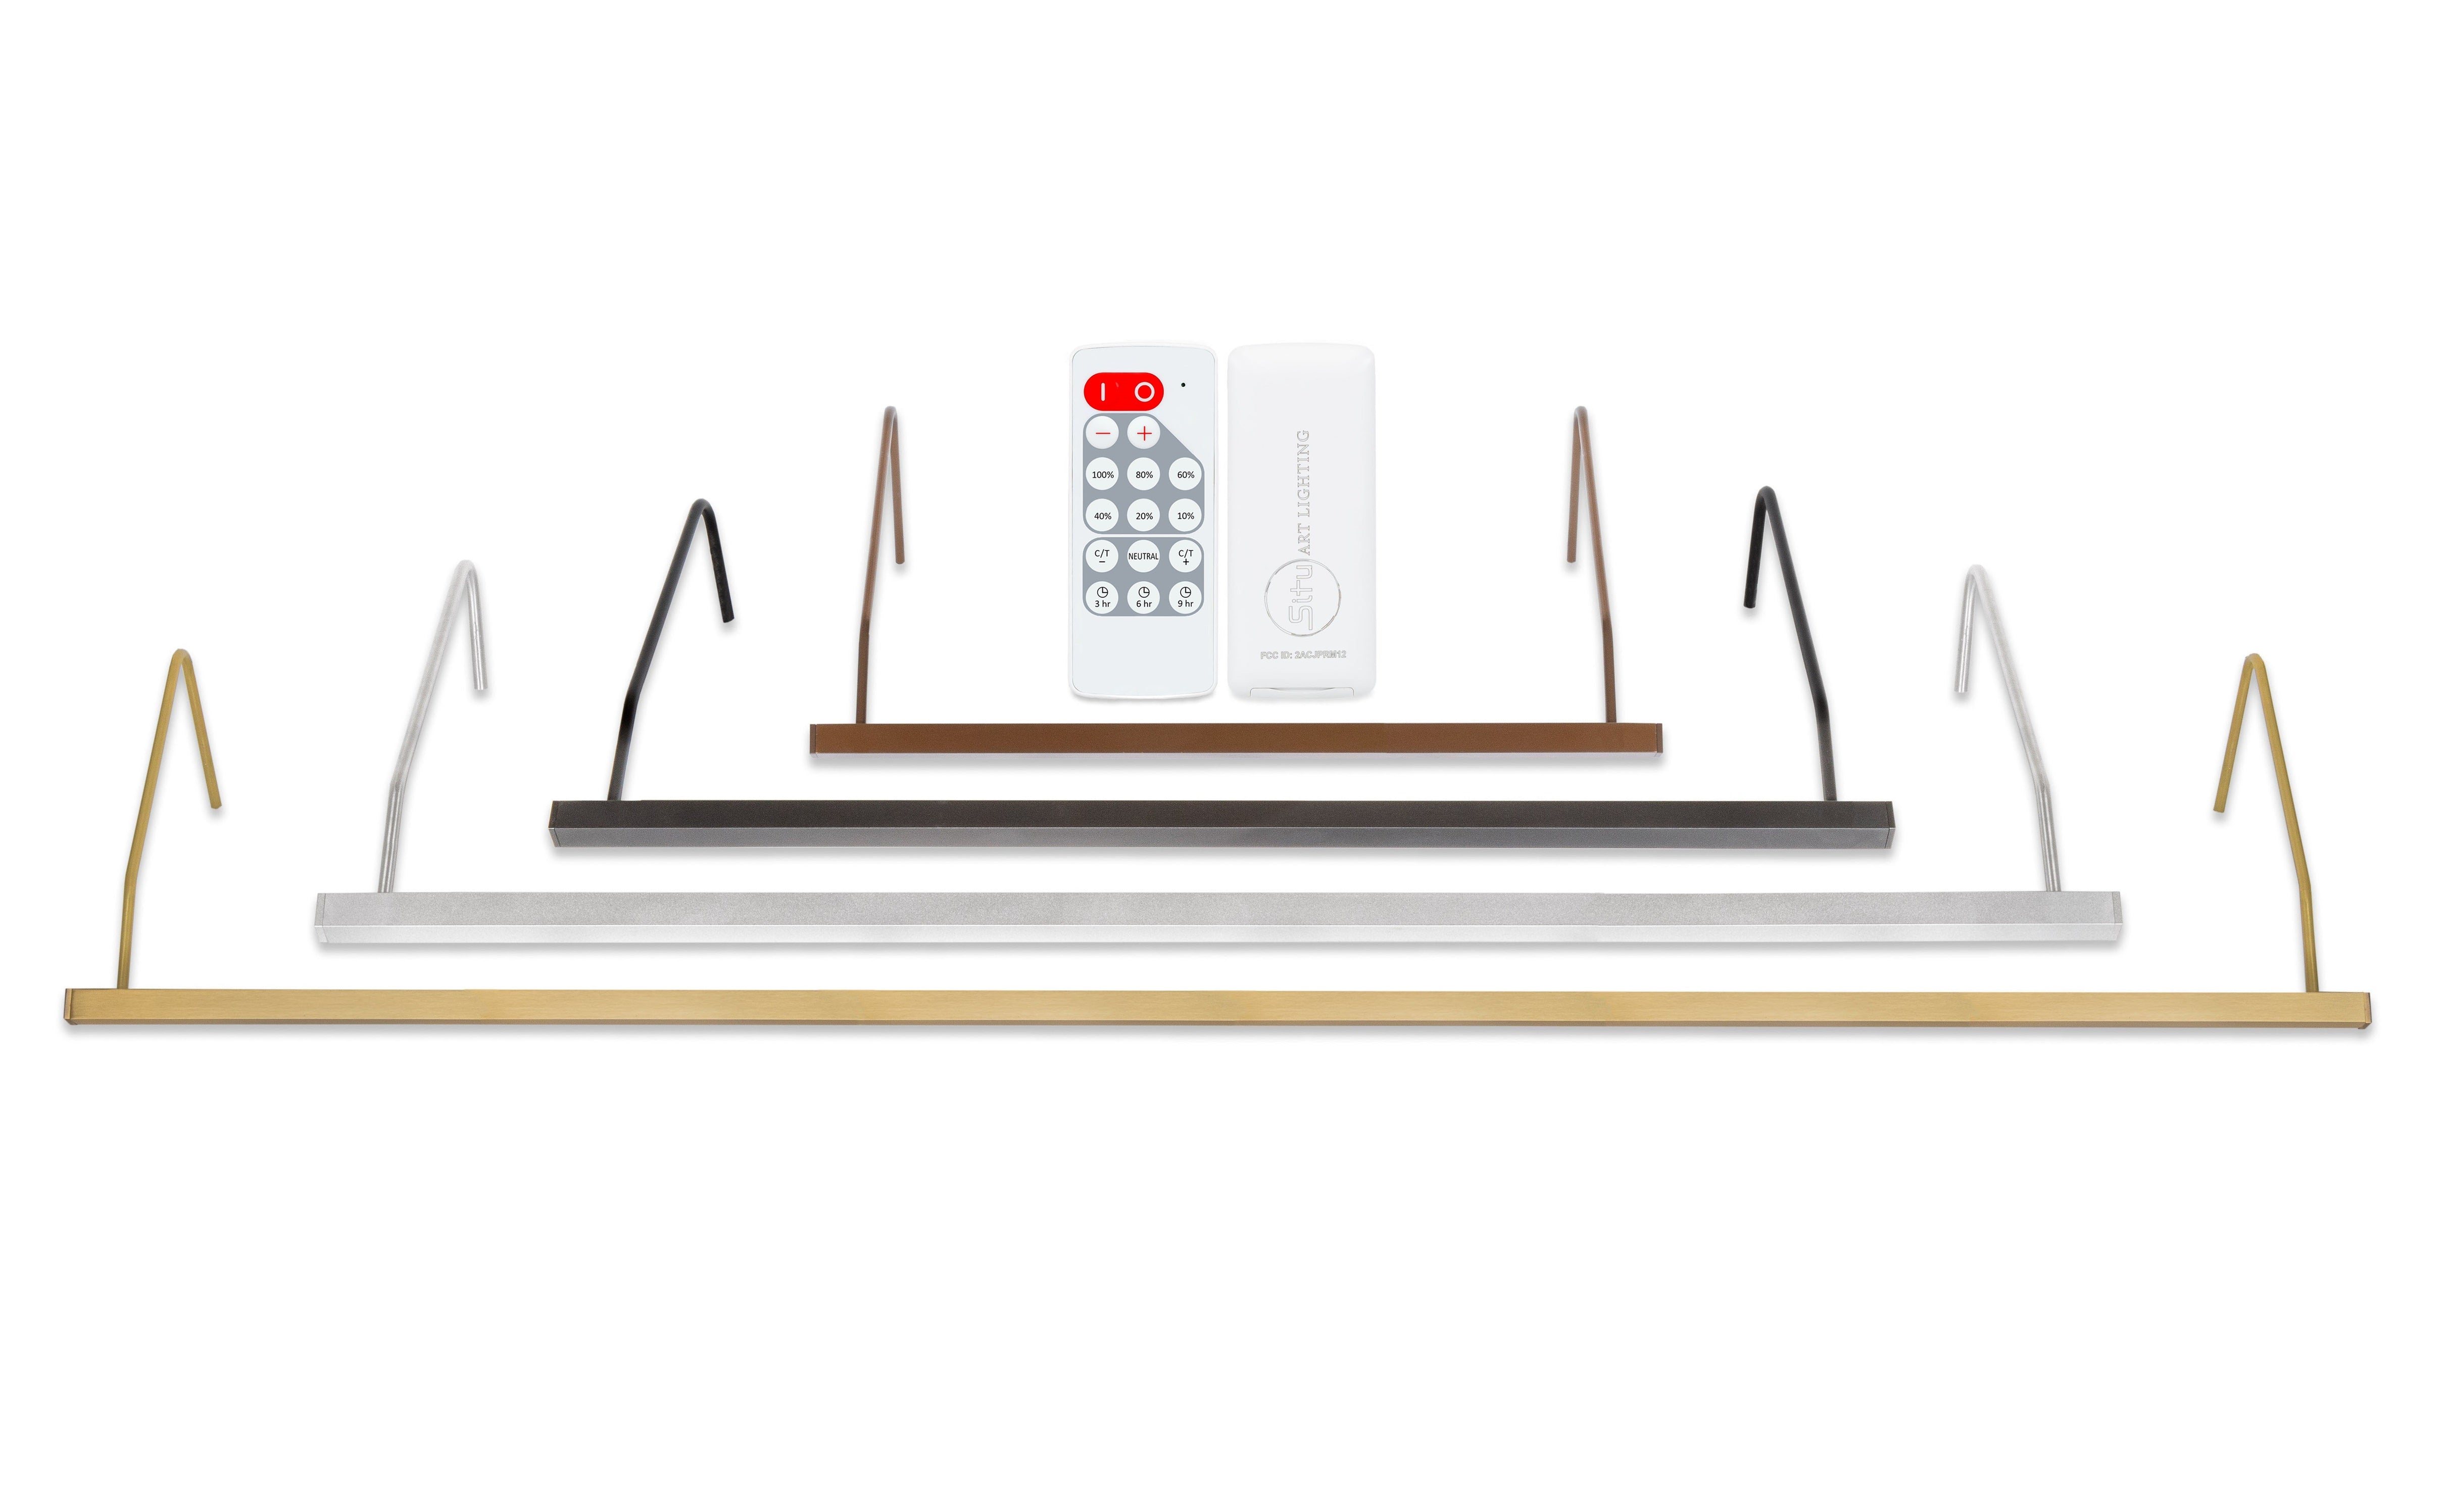
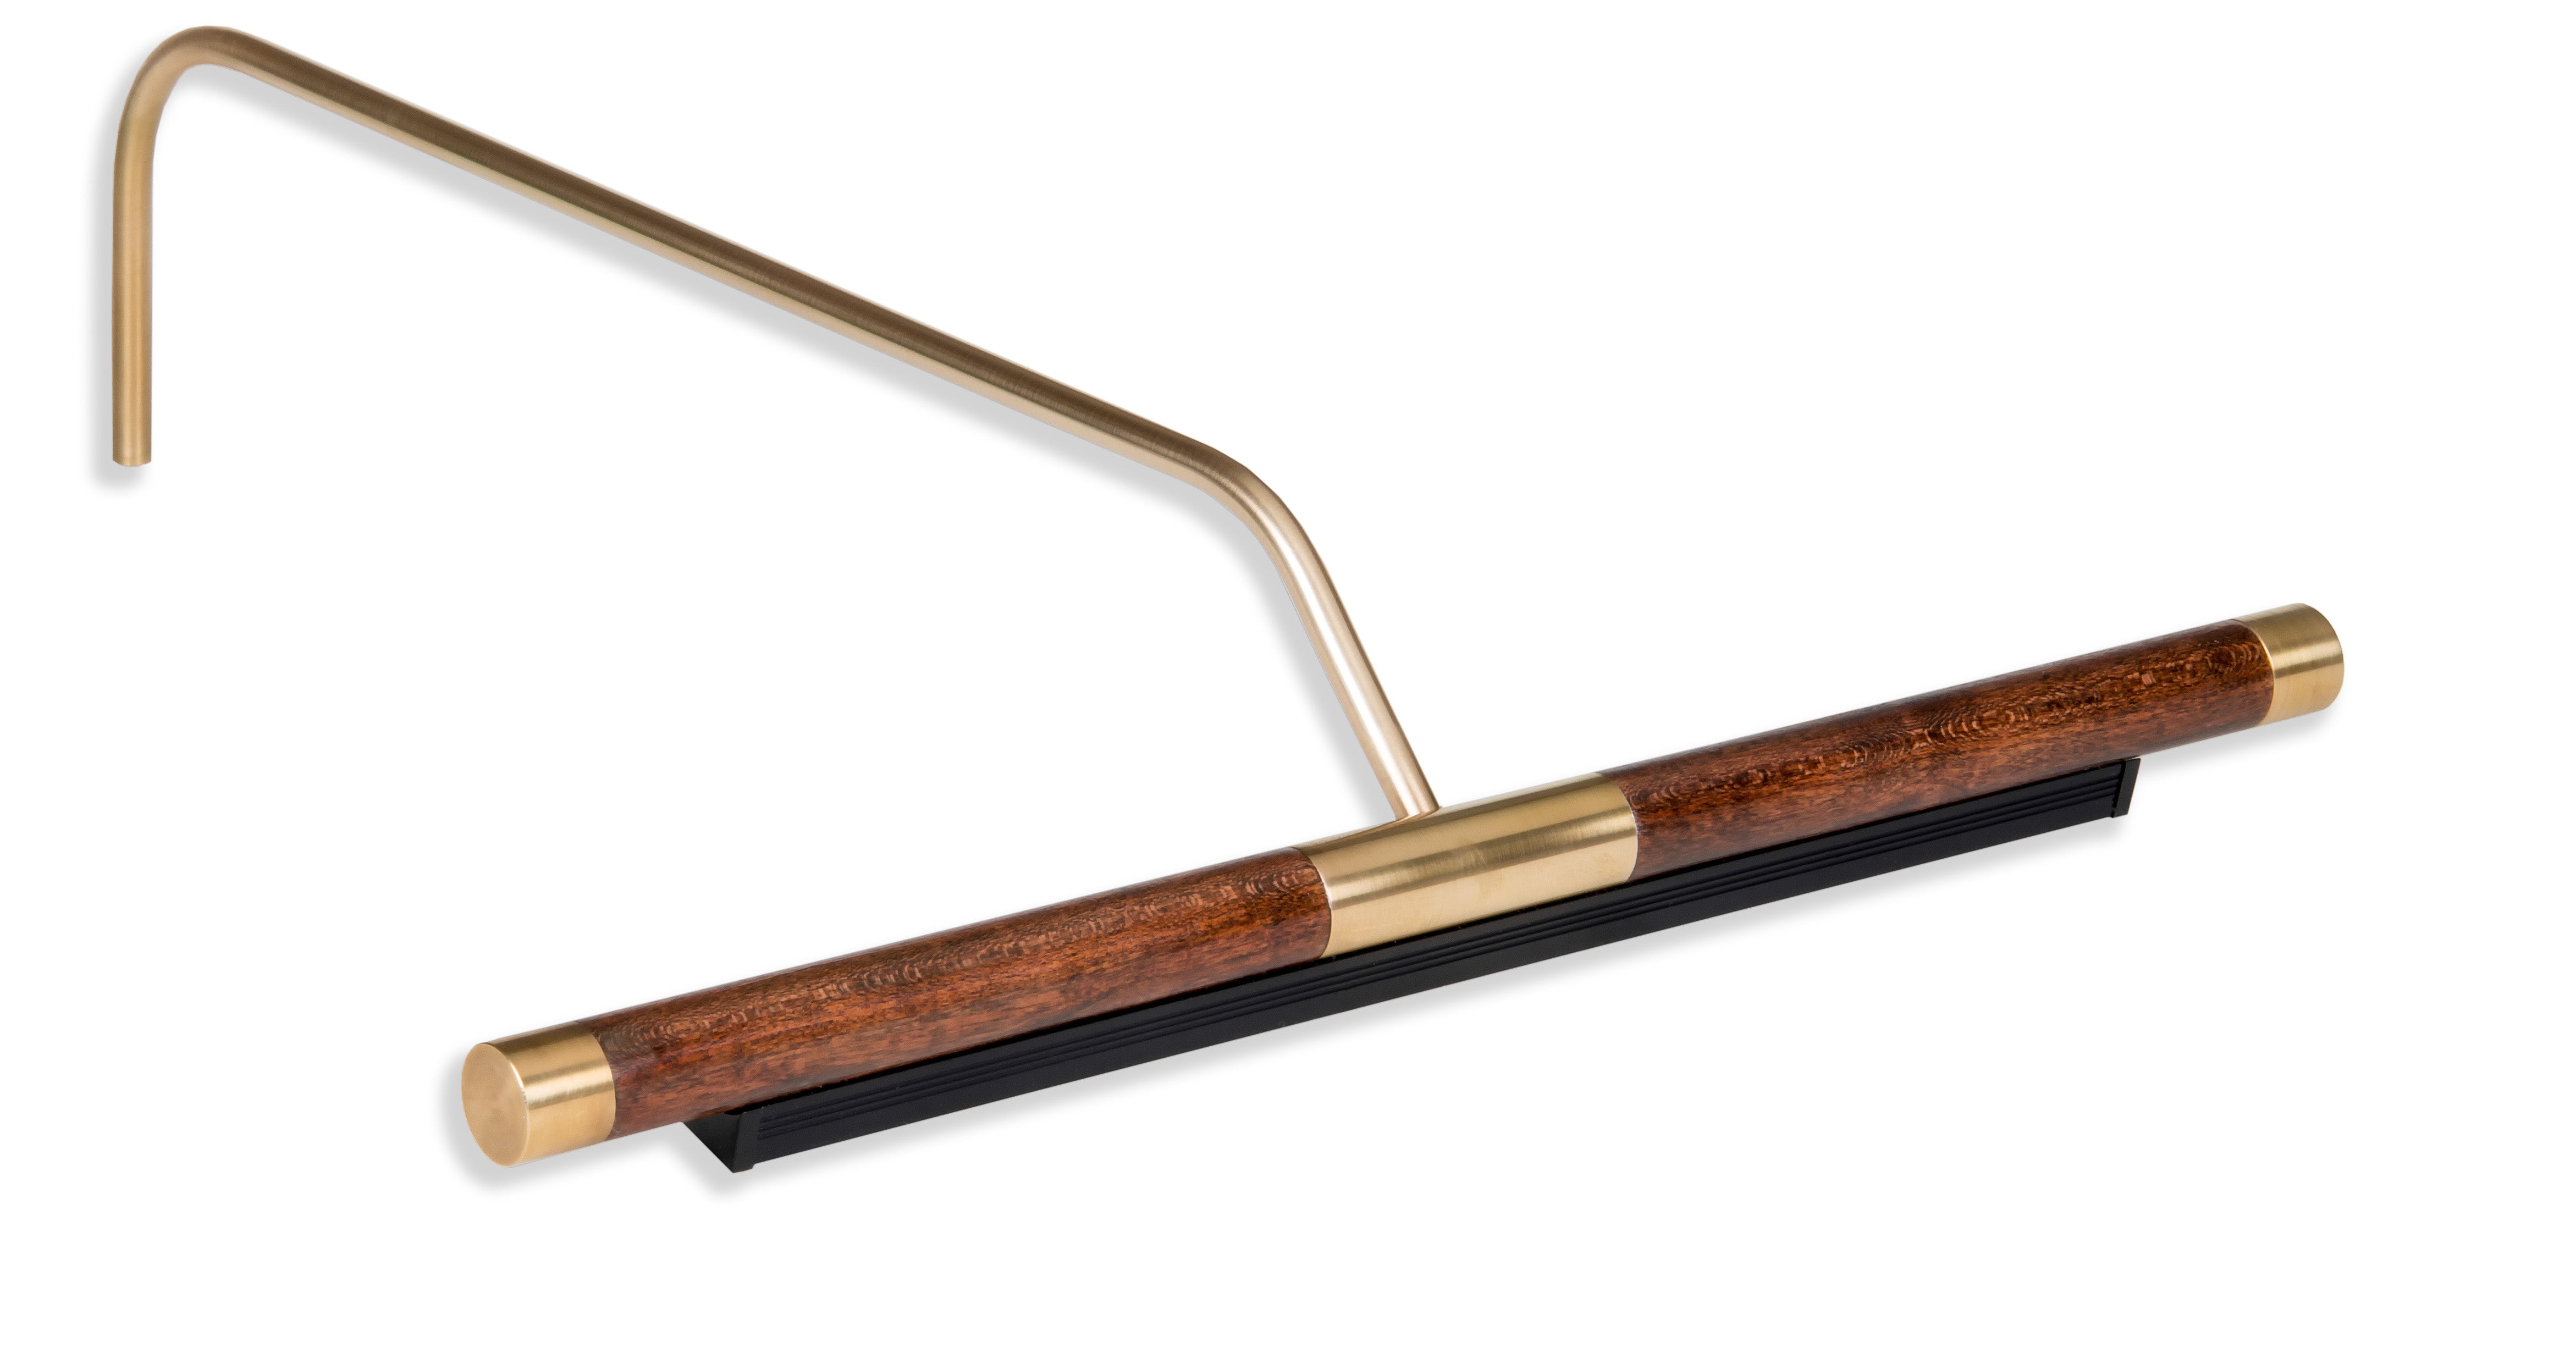
When it comes to choosing picture lighting, we have many options for both plug-in powered and wireless lights, in different styles and finishes. Size of the lighting is perhaps the most important part. We care about your artwork, so let us illuminate your art with our industry leading and customized picture and display lighting.
If you’re still struggling with how to measure for a picture light, or you’d like advice on selecting a fixture, we can review pictures and dimensions of your artwork and make recommendations.
Don’t hesitate to give us a call at 1-800-561-0492 or email us at info@situlighting.com.