Welcome to Our Guide on Pairing Your Remote Control
Our homes are becoming increasingly connected, and the ability to control your lighting with a remote can greatly enhance your comfort and convenience. Whether you've purchased a replacement remote, want to pair a “master” remote, or are facing issues with your current remote, we are here to help. In this guide, we will walk you through the steps to successfully pair your remote control with your art lighting fixture, ensuring a seamless and efficient setup.
Before You Begin
Before diving into the pairing process, it is important to gather the necessary items and review the following checklist to ensure a successful setup:
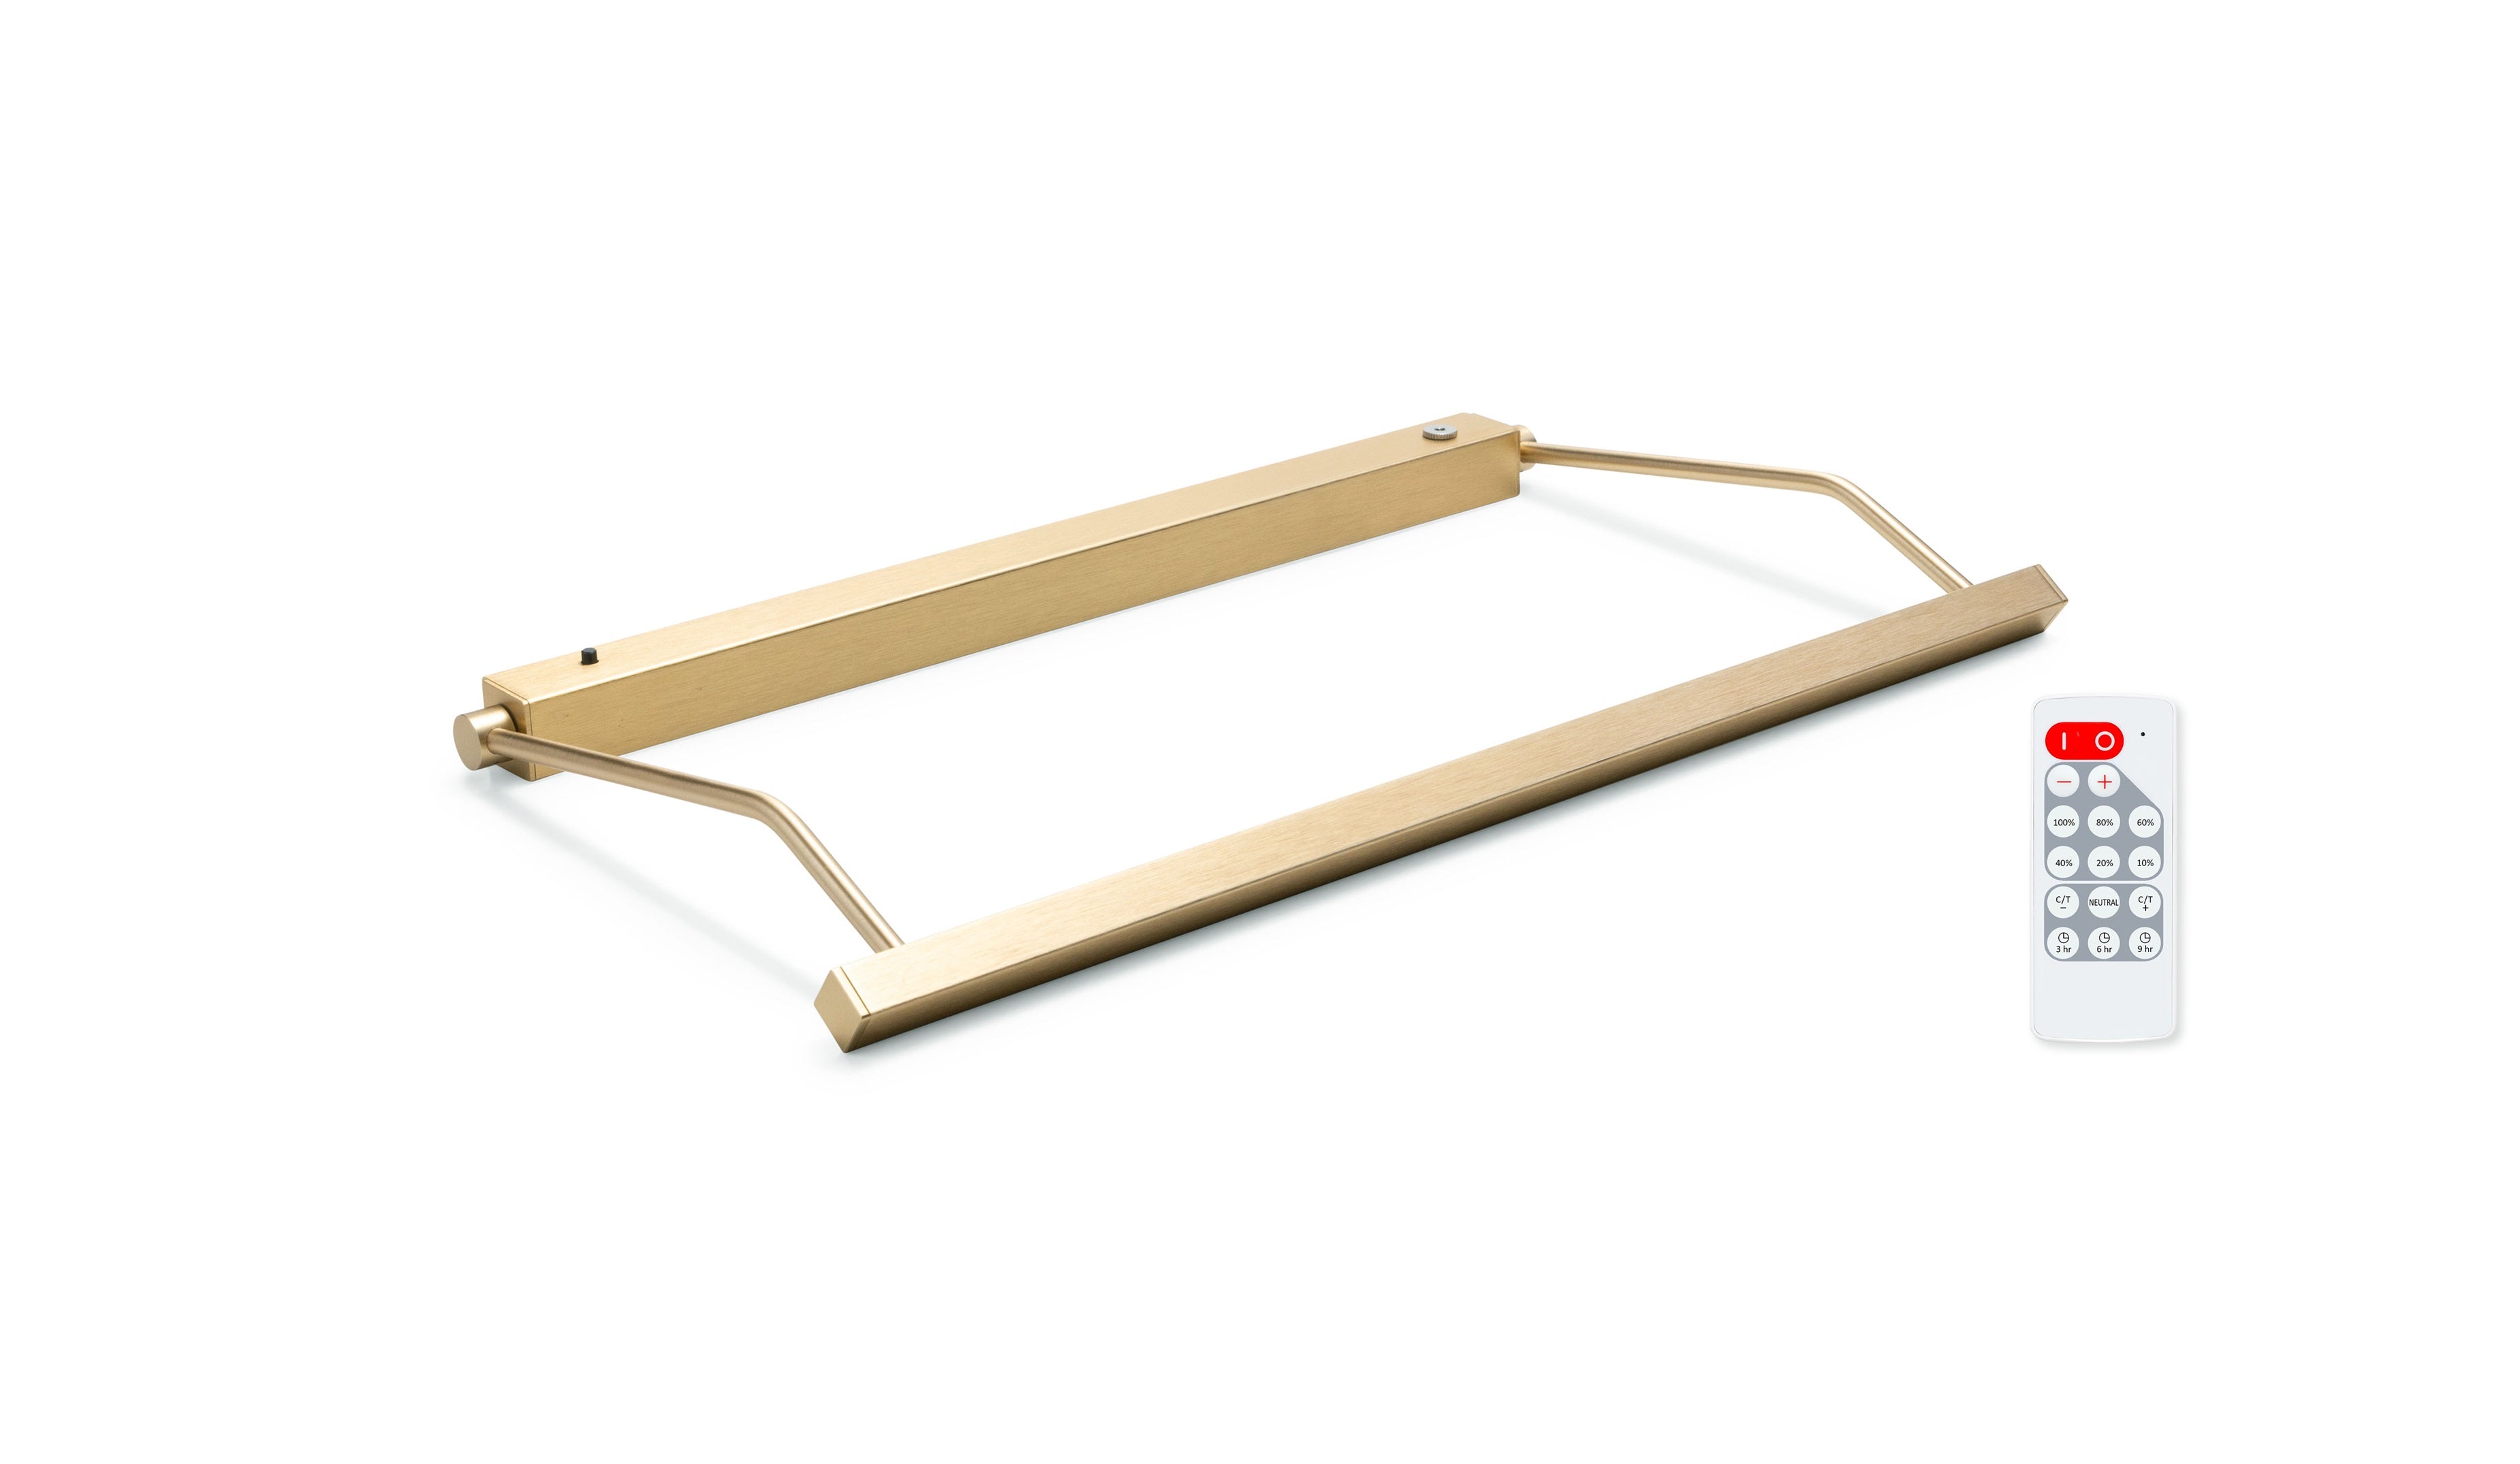
Remote Control: Ensure you have the correct remote control for your art light and that the batteries are fresh and properly installed. You can verify battery function by the strobing blue LED on the remote control.
Light Fixture: Verify that your light fixture is powered on and functioning properly.
Power Source: If you are using a plug-in system, make sure all connections are secure and that you have easy access to the power supply or where the power supply is plugged into the fixture.
Having these items ready will streamline the pairing process and help you avoid any potential issues.
Plug-in Fixture Pairing Steps
The following steps will guide you through the pairing process for remote controls with our plug-in picture lights.
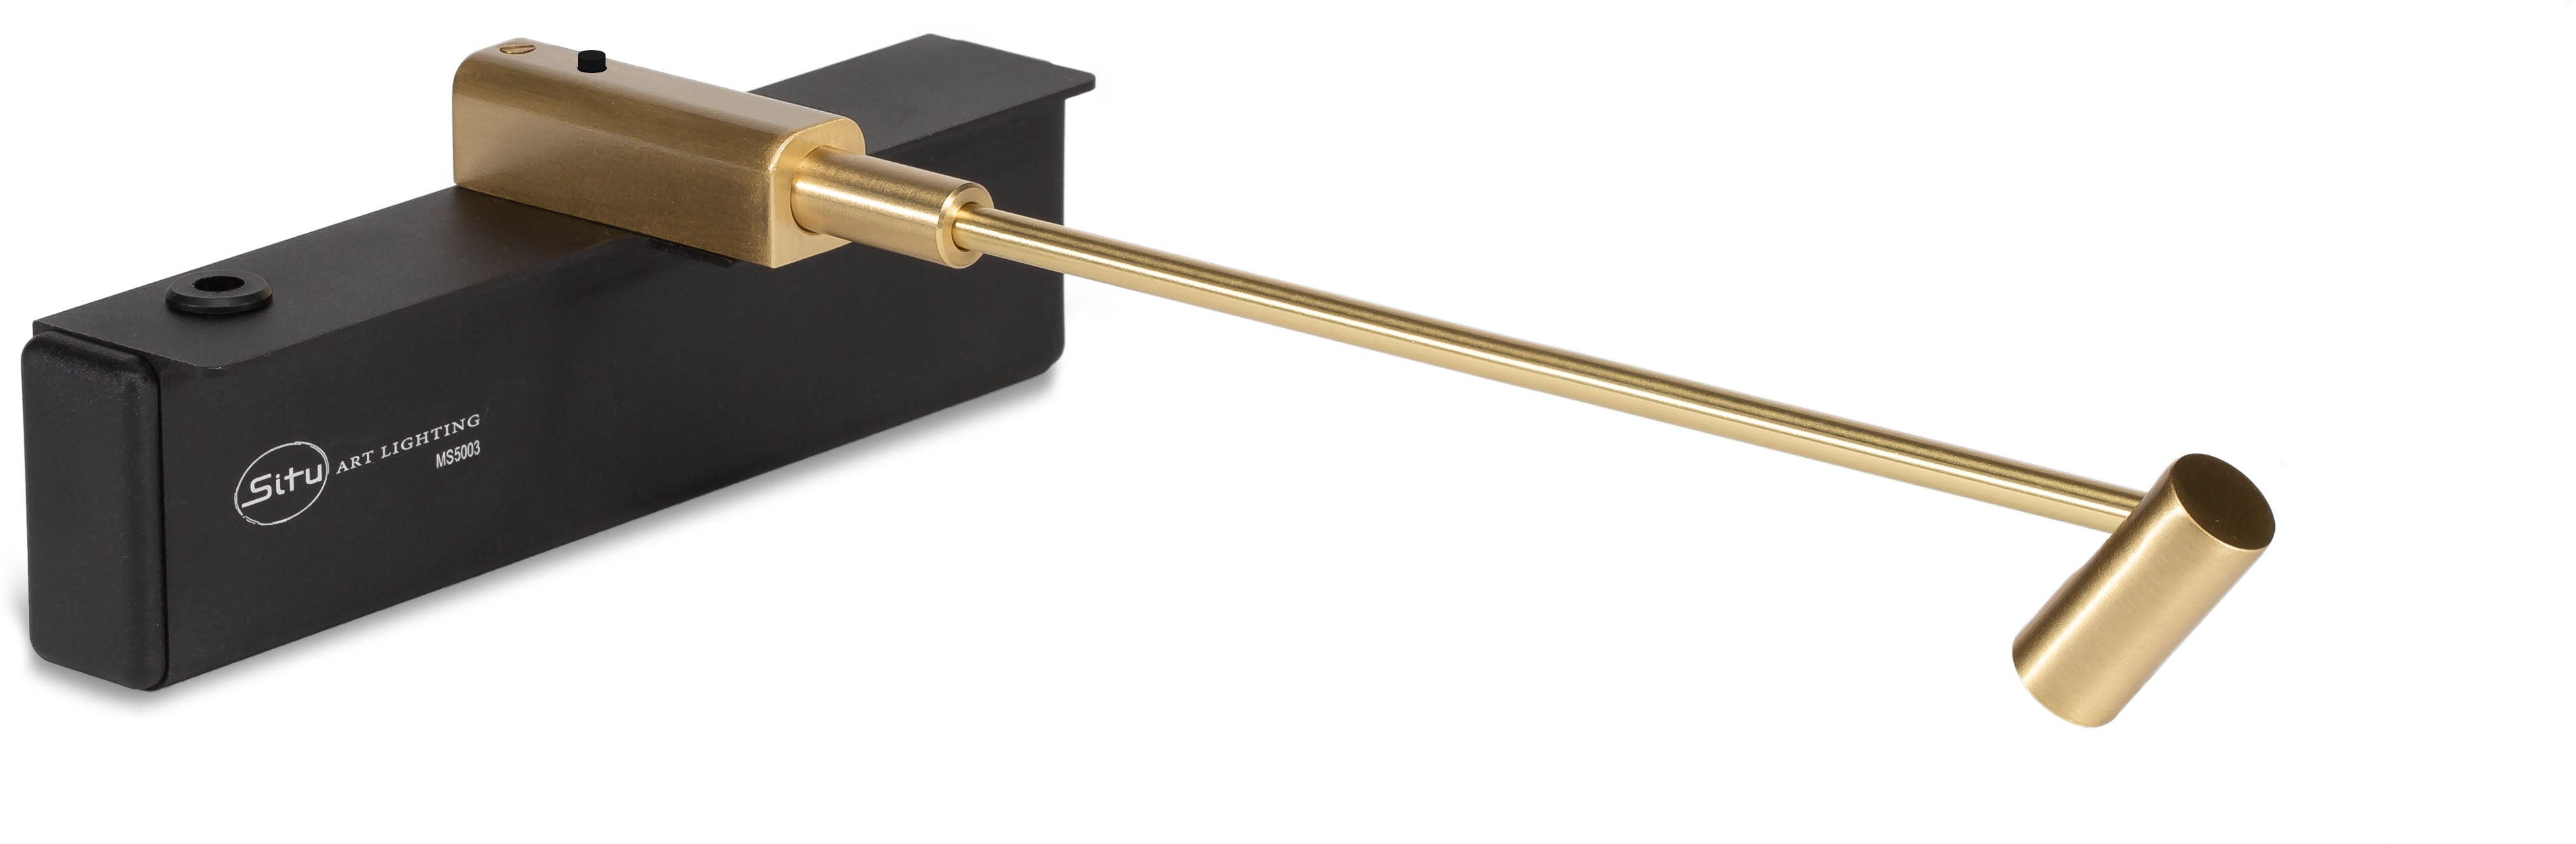
1) Unplug the power from the wall OR into the LED controller (pictured below) for 5 seconds.![]()
*Color Tuning LED controllers will have 2x wires coming out of one side, which should be plugged directly into your fixture.
2) Plug power back into the wall or LED controller, then immediately press the 100% and 60% buttons at the same time. Hold these buttons for one second.
*Color Tuning remote controls will have 3x more buttons for color temperature control.
The remote should now be programmed to your light and your fixture will flash three times to verify successful pairing. You can use this same procedure for each light you would like to have programmed to the remote control.
You can watch a quick video of this process at the following: Click here
Wireless Fixture Pairing Steps
The following steps will guide you through the pairing process for remote controls with our wireless picture lights. Please note that only the battery-operated Rechargeable Vision Series is compatible with remote controls at this time.
1) Rapidly press the black button on the fixture six times or more while the fixture is on.
2) Within several seconds of completing step 1, immediately press the 100% and 60% buttons at the same time. Hold these buttons for one second.
3) The fixture will blink three times to indicate it has been programmed to the remote control. If programming fails, please press the black button on the fixture ten times and wait for five seconds, then try the steps above again.
Conclusion
Pairing your remote control to your light fixture can greatly enhance your home lighting experience, providing you with convenience, efficiency, and advanced features. By following the steps outlined in this guide and consulting your user manual, you can achieve a successful and trouble-free pairing. Should you encounter any issues, our customer service team is here to help at 1-800-561-0492 or info@situlighting.com. Enjoy your newly connected lighting system and the comfort it brings to your home.